How to Convert PNG to JPG Without Losing Quality: A Designer's Workflow
I have spent almost a decade converting files from one format to another for clients who never asked about compression artifacts but knew when they saw one. It wasn't until I was about three years into my career as a designer that I realized that converting a PNG to a JPG was more than just an afterthought, and that realization is what this guide is based on. Anyone who has ever created a high definition mockup in PNG format, then converted it to JPG for an email to a client and seen the mockup return looking like it was baked in the sun will enjoy this post. I'll walk through exactly why that happens, how to stop it from happening, and the workflow I now use every day, including where a browser based tool like Plainscan's PNG to JPG converter actually earns a place in that workflow instead of just being one more converter site.
Why I'm Qualified to Write This
I'm not going to pretend this is a purely academic exercise. Image format conversion sits at the unglamorous intersection of design, web performance, and file management, three things that every working designer, marketer, and developer has to deal with whether they like it or not. I've prepared assets for print runs where a single misjudged compression setting cost a client a reprint. I have found that saving 200KB in an image on image-heavy landing pages has made a difference in the load time and resulted in improved conversion rate. Furthermore, it is worth mentioning that I have made the usual newbie error of saving an image multiple times in JPG format.
None of that makes me a color scientist. It makes me someone who has felt the consequences of getting this wrong often enough to have developed opinions worth sharing, opinions worth checking against the underlying technical reality, which is exactly what the next section does.
PNG vs. JPG: What's Actually Happening Under the Hood
It is important to note why PNG images and JPG images act so differently before you can safeguard their quality when converting them. This is not trivial information. It directly explains every quality issue you'll run into later.
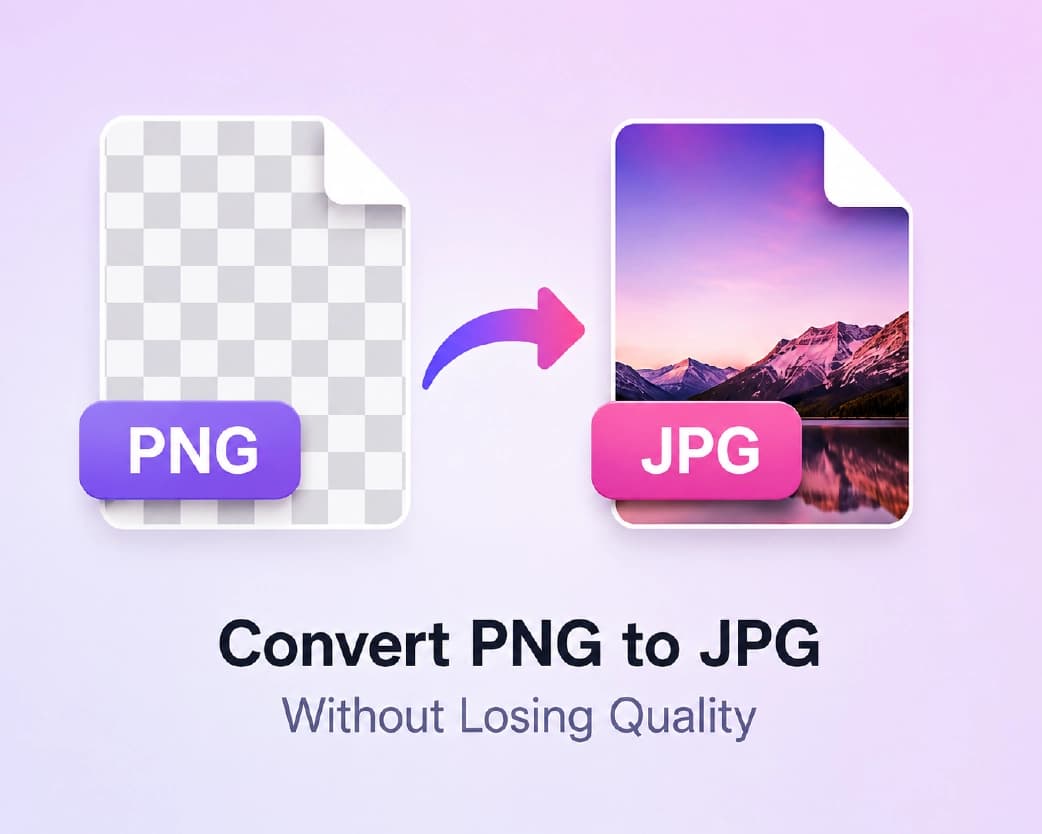
PNG is lossless
Every single pixel value is stored using the Portable Network Graphics file format. When you convert a file into PNG format, everything is kept in the picture. PNG is considered to be the format of choice for user interface mock ups and screenshots because of sharp lines and clear text, logos, icons, transparent images with alpha channel, etc.
The tradeoff is file size. Because nothing is discarded, PNG files, especially photographic ones, can be enormous compared to their JPG equivalents.
JPG is lossy by design
JPEG (Joint Photographic Experts Group) employs a compression technique where irrelevant information from the image is removed with the objective of eliminating color variations that are least noticeable by the human eye. The image is divided into small segments and analyzed to extract patterns of colors and brightness and then compressed through a coding process that emphasizes likeness.
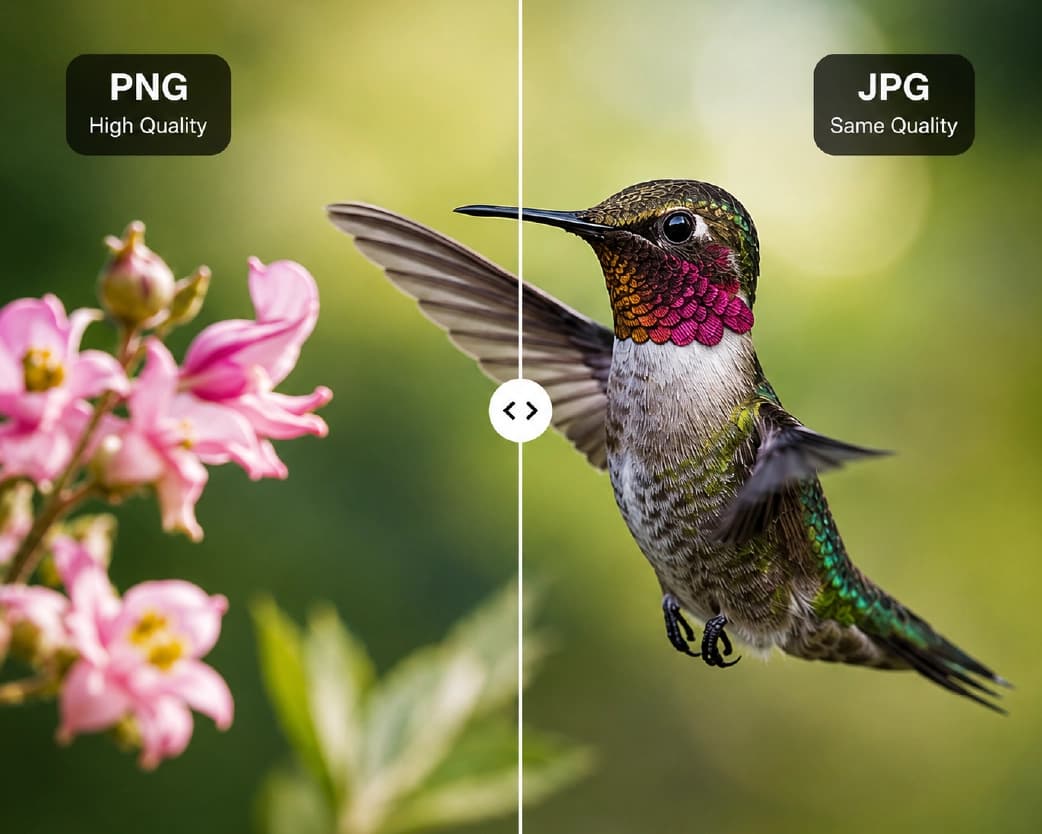
This is a completely reasonable tradeoff for photographs, where the eye rarely detects the difference between a lossless original and a well compressed JPG. It's a much rougher tradeoff for flat color graphics, sharp text, or images with hard edges, which is exactly where PNG to JPG conversions tend to go wrong.
So where does “quality loss” actually come from?
From my experience, there are three offenders that will make you understand most complaints you hear, and it would be good to know what exactly you are up against because each has its remedy.
The first is a compression ratio set too aggressively. Below roughly 70 to 80 percent quality, JPG's block based compression starts producing visible artifacts: blotchy squares, color banding, and a general muddiness around edges and text.
The second is repeated re-compression. Whenever a JPG file is opened, edited, and saved again as a JPG file, compression is being applied to compressed files. This is referred to as generation loss, which happens very quickly.
Thirdly, the problem of transparency exists. Transparency is not an available feature of the JPG file format. This means that when your PNG file has any area which is transparent, after being converted into a JPG file, this area will be flattened with a colored background, which is generally white.
Understanding which of these three is actually causing your specific problem is the first real step toward fixing it.
A quick side by side
I keep some version of this table pinned in my notes because clients ask why they can't just keep everything as one format often enough that it's worth having a fast answer ready.
| Attribute | PNG | JPG |
|---|---|---|
| Compression type | Lossless | Lossy |
| Transparency support | Yes (alpha channel) | No |
| Best for | Logos, UI, screenshots, line art | Photographs, complex gradients |
| Typical file size | Larger | Smaller, often 60–80% smaller |
| Re-editing safety | Safe to re-save repeatedly | Degrades with each re-save |
| Browser and device support | Universal | Universal |
Neither format is objectively better. They're built for different jobs, and most of the frustration around conversion comes from asking one format to do the other's job.
Why the human eye tolerates JPG compression on photos but not on graphics
This is worth understanding because it explains almost every quality complaint you'll ever run into. The principle behind the JPG file compression is based on the human eye model where the human eye perceives changes in luminance much more than the changes in chrominance. The eye is also more perceptive to smooth transitions rather than abrupt ones.
Transitions are abound in photographs, the transitions of skin tones to shadows, skies merging to the horizon, and fabrics catching lights within their folds. Compression in JPG format was designed keeping in mind such kinds of imagery; thus, an image compressed using this method can lose a significant amount of data while appearing almost similar to the original picture to human eyes.
Graphics behave the opposite way. A logo's edge is a hard, instant transition from one flat color to another. Text has sharp, high contrast strokes. When JPG's block based compression tries to approximate these hard transitions using the same math it uses for smooth gradients, the result is visible ringing, blurring, or blocky discoloration right along the edge, the exact artifact that makes a converted logo look off even at quality settings that would be perfectly fine for a photograph.
This is the real, underlying reason design teams are told to keep logos and UI assets in PNG, or better yet SVG for anything vector based, and reserve JPG for photography. It's not an arbitrary style rule. It's a direct consequence of how the compression math works.
The Designer's Workflow: Step by Step
Here's the process I actually use, refined over enough painful client feedback calls that I trust it more than I trust my own instincts on any given day.
Step 1: Decide if you should convert at all
It may seem pretty obvious, but this is the one that everybody forgets. If there is transparency to maintain in your image, you stick with PNG, or even try out WebP if you are allowed to do so on the platform you're working on. If it's a screenshot, a UI element, or a graphic with crisp text and simple colors, then even though PNG may be a bit bulky, it's the one you should go for.
A huge share of “PNG to JPG lost quality” complaints I've seen over the years trace back to converting the wrong kind of image in the first place, a logo with fine text, say, or a UI screenshot with anti-aliased icons. JPG was never going to handle those gracefully, no matter how carefully you compress.
Step 2: Start from the highest quality source available
Conversion from JPG to JPG is out of the question, and a PNG that has undergone a lossy round trip transformation must not be converted either, for instance, a PNG that was saved from a highly compressed JPG. It's always best to revert to the original source file, the one without any compression at all.
This matters because quality loss in JPG compression is cumulative in effect even when it isn't literally generational. Starting from the cleanest possible source gives the compression algorithm the most accurate data to work with, which produces a visibly better result at any given file size.
Step 3: Resize before you compress, not after
If you have to end up with a final image size of 1200 pixels, for instance, in a blog posting, then it is advisable to resize the image to that size prior to compression and not vice versa. The reason behind this is that compressing an image followed by resizing wastes energy, as data that will never be used is being processed. In some cases, it could even add artifacts through resampling.
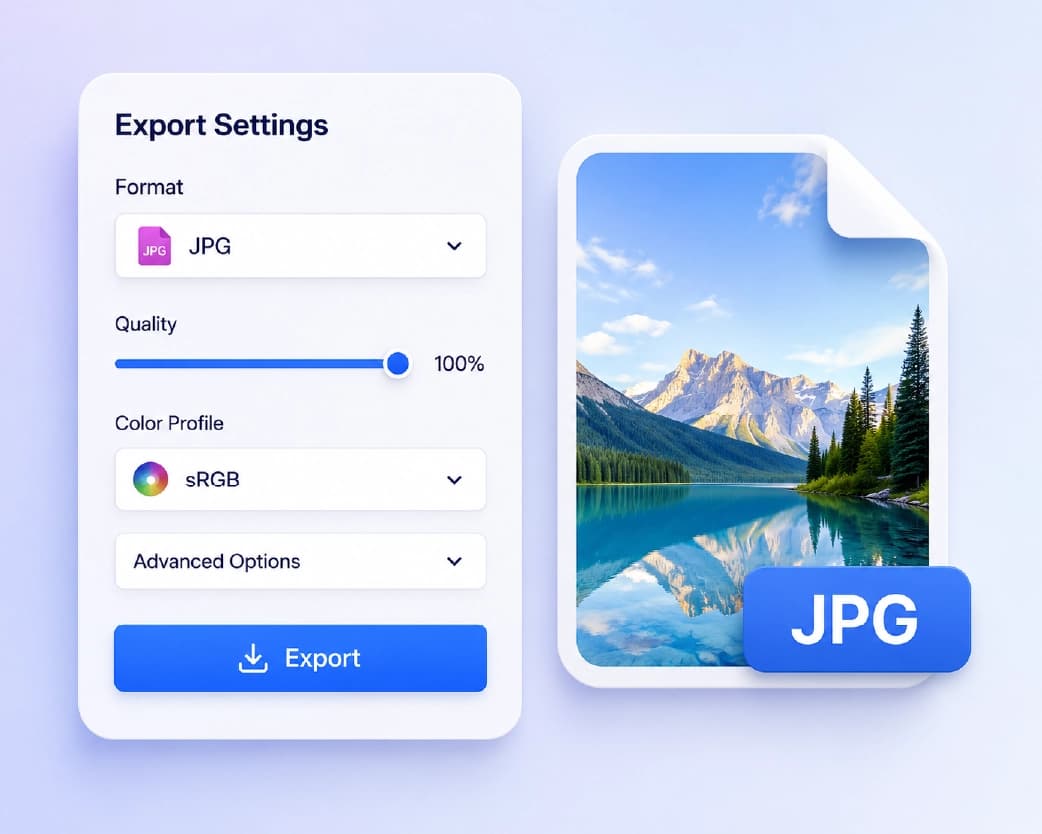
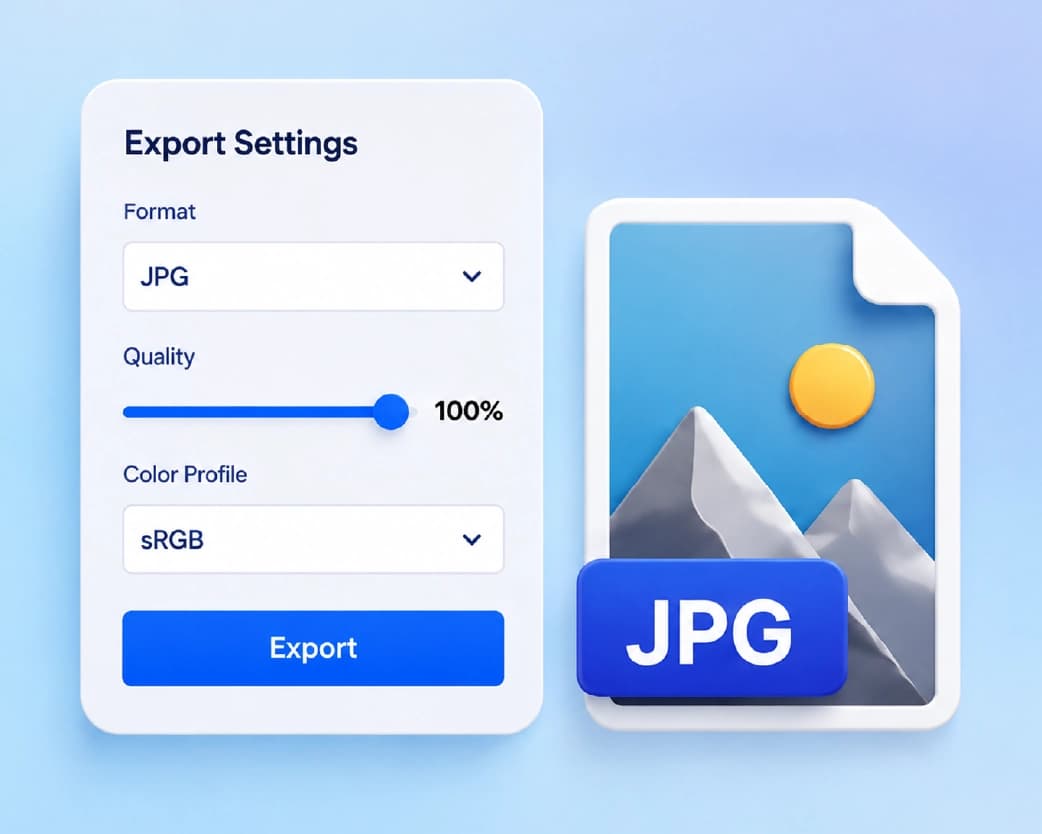
Step 4: Choose a sensible quality setting and stop guessing
This is where most people either massively over-compress, because they don't realize there's a slider, or massively under-compress, because they're scared to touch the default. In practice I use four rough anchor points. Settings around 90 to 100 percent are effectively visually lossless for most images, and are worth using for hero images, print adjacent work, or anything where file size isn't the priority. The setting between 80 and 90 percent is the ideal compression range that works for most web activities since at this level, one achieves optimum results in terms of reducing the size of the files without compromising the picture too much. Between 60 and 80 percent is another setting range that one can see the differences between the compressed picture and the original, mainly near texts and sharp edges. Anything less than 60 percent is for when file size becomes more important than the image itself.
Plainscan's converter, for what it's worth, defaults its engine to roughly the 80 to 90 percent range for exactly this reason. It's the setting that balances file size and visual fidelity for the widest range of real world images, so it's a reasonable default if you're not sure where to start.
Step 5: Handle transparency deliberately, not accidentally
Before converting any PNG with transparency, decide what should happen to those transparent areas. If the image is going onto a white background, a typical blog post or email, white is fine, and most converters, Plainscan included, will fill transparent regions with white automatically. If it's going onto a colored background, you'll want to flatten the PNG onto that specific color first in your design tool, then convert, rather than letting the converter guess.
I've had more than one asset come back from a batch conversion with an ugly white halo around a logo simply because nobody thought about this step. It takes ten extra seconds and saves an entire revision cycle.
Step 6: Convert using a reliable tool
This is the step where the actual mechanics happen, and it's worth being deliberate about which tool you use. Not because the underlying JPG compression algorithm varies wildly between tools, but because the surrounding experience, security, batch handling, file size limits, and whether the tool quietly re-compresses an already compressed file, makes a real difference to your workflow.
I'll walk through this in detail in the next section using Plainscan's PNG to JPG tool, which has become my default for quick, browser based conversions when I don't need the full weight of Photoshop or an export pipeline.
Step 7: Check the result before you ship it
Zoom in. Actually look at the file at 100 percent, particularly around text, thin lines, and any area with a hard color transition. Compare it side by side with the original PNG if the stakes are high enough to warrant it, client facing print assets, for instance. This step takes thirty seconds and has saved me from sending out visibly degraded files more times than I'd like to admit.
A Real Example From a Client Project
Several years back I consulted an e-commerce business that was using PNG format product photography right from their editing software, full resolution and completely uncompressed at an average size of 15 to 25 MB per picture. This company had several hundred product pages with 6 to 8 pictures per page, and the load time for each page had become noticeably slow for them based on their own web analytics.
The fix wasn't complicated in theory. Convert the product photography to JPG at a sensible quality setting before upload. In practice, the first attempt at this went badly, because whoever was handling the batch conversion used an aggressive compression setting to chase the smallest possible file size, and the resulting images showed visible blotching around product edges and color banding in soft shadow areas, exactly the kind of artifact described earlier in this guide.
We re-did the conversion using the workflow outlined above, resizing to the actual display dimensions first, converting at roughly 85 percent quality rather than the much lower setting that had been used initially, and spot checking a sample of images at 100 percent zoom before pushing the full batch live.
The resulting files were still 60 to 70 percent smaller than the original PNGs, page load times improved noticeably, and, this was the part that actually mattered to the client, nobody could tell the difference between the new JPGs and the original photography without zooming in and looking for it deliberately.
The lesson I took from that project, and the one I'd pass on to anyone doing this at scale, is that smaller file size and lower quality setting are not the same goal, and chasing the first one too aggressively is how you end up with visibly degraded images for a marginal additional file size saving. There's usually a point of diminishing returns somewhere around 75 to 80 percent quality, below which you're trading a small amount of extra compression for a disproportionate amount of visible quality loss.
Converting PNG to JPG with Plainscan: A Practical Walkthrough
Plainscan's PNG to JPG tool is a browser based converter built for exactly the mid workflow moment described above. You have a finished PNG, you need a JPG, and you don't want to open a full design application to get there. Here's how I actually use it.
Getting started
Your PNG file can be uploaded right to the tool web page by just dragging and dropping it there or by browsing for it on your computer. The tool allows uploads of standard PNG files that don't exceed 50MB in size, which is plenty enough for most cases of conversion.
What happens during conversion
Once uploaded, the file is processed server side rather than entirely in your browser. For designers handling client work or proprietary assets, this matters. Processing happens on Plainscan's UK based infrastructure over an encrypted connection, and files are automatically deleted from their systems within 24 hours rather than being retained indefinitely. If you're converting anything under an NDA or client confidentiality agreement, that automatic deletion behavior is worth knowing about upfront.
The conversion engine itself is tuned to minimize the compression artifacts described earlier in this guide. It is targeting the 80% to 90% quality range by default, which works very well with the workflow tips listed above. This simply means that most images taken in daily activities such as capturing pictures of any kind, whether for marketing purposes, products photography, or even screenshots will look nearly identical to the original PNG image but with reduced file sizes.
Handling transparency
If your PNG has transparent areas, Plainscan flattens them to a solid white background during conversion, since JPG can't carry an alpha channel. As covered in Step 5 above, this is the correct default for most web and email use cases, but if your image needs to sit on a non white background, flatten it to that color in your design tool before uploading rather than relying on the automatic white fill.
Batch conversion
If you're clearing out a folder of dozens of PNG screenshots or exports, Plainscan's tool supports batch processing so you're not uploading files one at a time. This is the difference between a five minute task and a genuinely tedious one when you're dealing with a full asset library.
Downloading your file
Once conversion finishes, your JPG is available to download immediately, with no watermark and no artificial quality cap on the free tier's output. For designers who need this as a repeatable part of a larger pipeline, Plainscan also exposes conversion through a developer API, which is worth a look if you're automating image handling across a website or content system rather than converting files by hand.
Common Mistakes That Ruin Image Quality, and How to Avoid Them
I want to spend a section on this because almost every “the conversion tool ruined my image” complaint I've seen actually traces back to one of these, not to the tool itself.
- The first mistake is converting a screenshot with small text. Small text has hard edges that JPG compression handles poorly at anything below a high quality setting. If the image is primarily text or UI, consider keeping it as PNG, or use a high quality setting of 90 percent or above if JPG is required.
- The second mistake is repeatedly re-saving the same JPG. The process of resaving will recompress the image even further. You should revert to the original PNG file, do all the necessary corrections and save the image anew rather than trying to edit the JPG image itself.
- The third mistake is ignoring resolution mismatches. Downsizing a huge PNG at 4000px and having it heavily downsized by a CMS or any other platform could bring about different artifacts as well. Do not rely on other parties to downsize your PNG, but take care of that in Step 3.
- The fourth mistake is not accounting for transparency. Covered above, but worth repeating: a white halo around a logo is one of the most common and most avoidable conversion mistakes I see in client deliverables.
- The fifth mistake is trusting a default quality setting blindly. Whether you're using desktop software or a web tool, know roughly what quality percentage you're getting and adjust it to the image type rather than assuming one setting fits every file.
- The sixth mistake is using an unreliable or opaque tool for confidential assets. If you're converting client work, unreleased product images, or anything under NDA, it's worth knowing where and how your files are processed, and whether they're actually deleted afterward, rather than assuming every free online tool handles this responsibly.
When PNG to JPG Is the Wrong Move
In the interest of giving you the complete picture rather than a one sided pitch for conversion, a few situations are worth flagging where I'd tell a client or teammate not to convert at all.
Logos and brand icons, in particular if they require a transparent background to be used in several applications, are best off being saved in PNG or, more commonly in recent years, in SVG file type. Screenshot images which are supposed to undergo any form of further editing are best left untouched in a lossless format till the very end of the process of re-exporting them. Any image which requires transparency for functionality, such as application icons, UI overlay elements, or product shots for e-commerce websites, should not use JPG at all. And archival or print critical assets, where file size is a non issue and quality preservation is the only thing that matters, are rarely good candidates for lossy conversion.
Knowing when not to convert is just as much a part of a professional workflow as knowing how to do it well.
A Pre-Conversion Checklist Worth Keeping Handy
I eventually turned the workflow above into a short mental checklist I run through before converting anything for client work. It takes less than a minute and has prevented more re-do cycles than I can count.
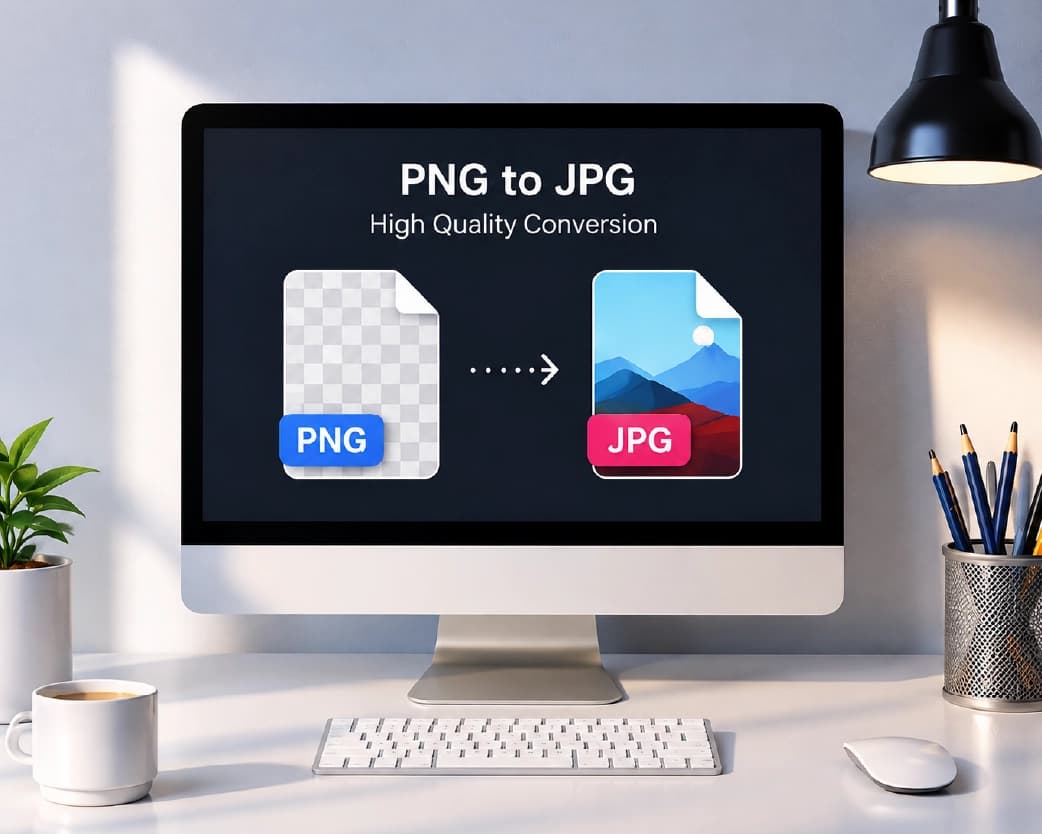
- I first check that the image is to be converted into a JPG format and not something like a logo or user interface text which requires transparency.
- I am certain that the image file is the original and that it is not a JPG file already.
- I resize to the final display dimensions before compressing.
- I choose a quality setting appropriate to the image type, generally 80 to 90 percent for web use and 90 percent or above for anything print adjacent.
- I decide in advance what should happen to any transparent areas.
- I use a conversion tool with clear data handling practices, especially for confidential or client assets.
- I zoom in and visually check the result before shipping it.
- And I keep the original PNG archived separately in case I need to re-export later.
None of these steps individually take more than a few seconds. Together, they're the difference between a conversion process you can trust and one that occasionally embarrasses you in front of a client.
Why This Matters Beyond Aesthetics
It's worth stepping back for a moment on why any of this is worth the extra minute of attention, beyond simple pride in the work. Image weight is one of the more direct, measurable contributors to page performance, and page performance has a well documented relationship with both user experience and search visibility. A bloated PNG sitting where a well compressed JPG would do the same visual job is, in a very literal sense, a tax on every visitor who loads that page, meaning slower rendering, more data used, and on mobile connections in particular, a genuinely worse experience.
At the same time, over-compressing in pursuit of the smallest possible file size creates a different, more subtle cost, an image that looks slightly wrong in a way most visitors won't consciously identify but will register as feeling a bit cheap without knowing why. Getting the balance right, the core of everything in this guide, isn't a purely technical exercise. It's part of how a brand's visual work actually gets experienced by the people looking at it.
Frequently Asked Questions
Does converting PNG to JPG always reduce quality?
Technically, yes. JPG compression is lossy by definition, so some data is discarded. Practically, at a sensible quality setting of 80 percent or above, the difference is often invisible to the naked eye on photographic or complex images. The visible quality loss people usually complain about comes from over-aggressive compression settings or converting the wrong type of image, flat graphics or sharp text, rather than from the format conversion itself.
What's the best JPG quality setting for web use?
An image compression rate somewhere around 80 to 90 percent seems to be optimal for most web images in terms of balancing file size reduction and visual quality, and that's why it is set by default in many converting programs, including Plainscan.
Will I lose transparency when converting PNG to JPG?
Yes, always. The JPG format doesn't have an alpha channel; therefore, areas that need to be transparent will be merged into a solid background color, usually white. If you want to retain your transparency, stick to PNG or use WebP instead.
Is it safe to convert client or proprietary images using an online tool?
It depends entirely on the tool. Look for server side processing over an encrypted connection and a clear, automatic file deletion policy. Plainscan, for example, deletes uploaded files within 24 hours. Avoid tools that are vague about data retention if you're handling anything confidential.
Can I convert multiple PNG files to JPG at once?
Yes. Most professional grade converters, including Plainscan's, support batch conversion so you can process an entire folder of assets in one pass rather than uploading files individually.
Should I resize an image before or after converting to JPG?
Before. Resize to your final target dimensions first, then compress. Compressing at full size and shrinking afterward wastes processing on detail you're about to discard and can occasionally introduce additional artifacts during resampling.
Why does my JPG look worse after I edited and re-saved it?
You're likely experiencing generational loss from repeated compression. Every save as JPG cycle re-compresses already compressed data. The fix is to always edit from the original lossless source and export a fresh JPG each time, rather than editing and re-saving the same JPG file repeatedly.
Conclusion
PNG to JPG conversion appears to be an easy and quick process that will take only a single click before it becomes evident that it is not, as clients point out the blurry edges of hero images, or there are unneeded white borders on a set of product images with the previously transparent background. There will be virtually no chance that the problem is in the software. It comes down to understanding what's actually happening during compression and making a handful of deliberate choices along the way: the right source file, the right quality setting, the right handling of transparency, and a quick visual check before you ship. Once that workflow is second nature, a browser based tool like Plainscan's PNG to JPG converter is genuinely enough for the vast majority of day to day conversions, fast, free, secure enough for client work, and tuned to a quality default that won't embarrass you. Save the heavier design software for the images that actually need that level of control, and let a good conversion tool handle the rest.
Continue Reading:How to Convert PDF to Word: The Complete Free Guide for 2026
Related insights
Get the Plainscan App for iOS & Android