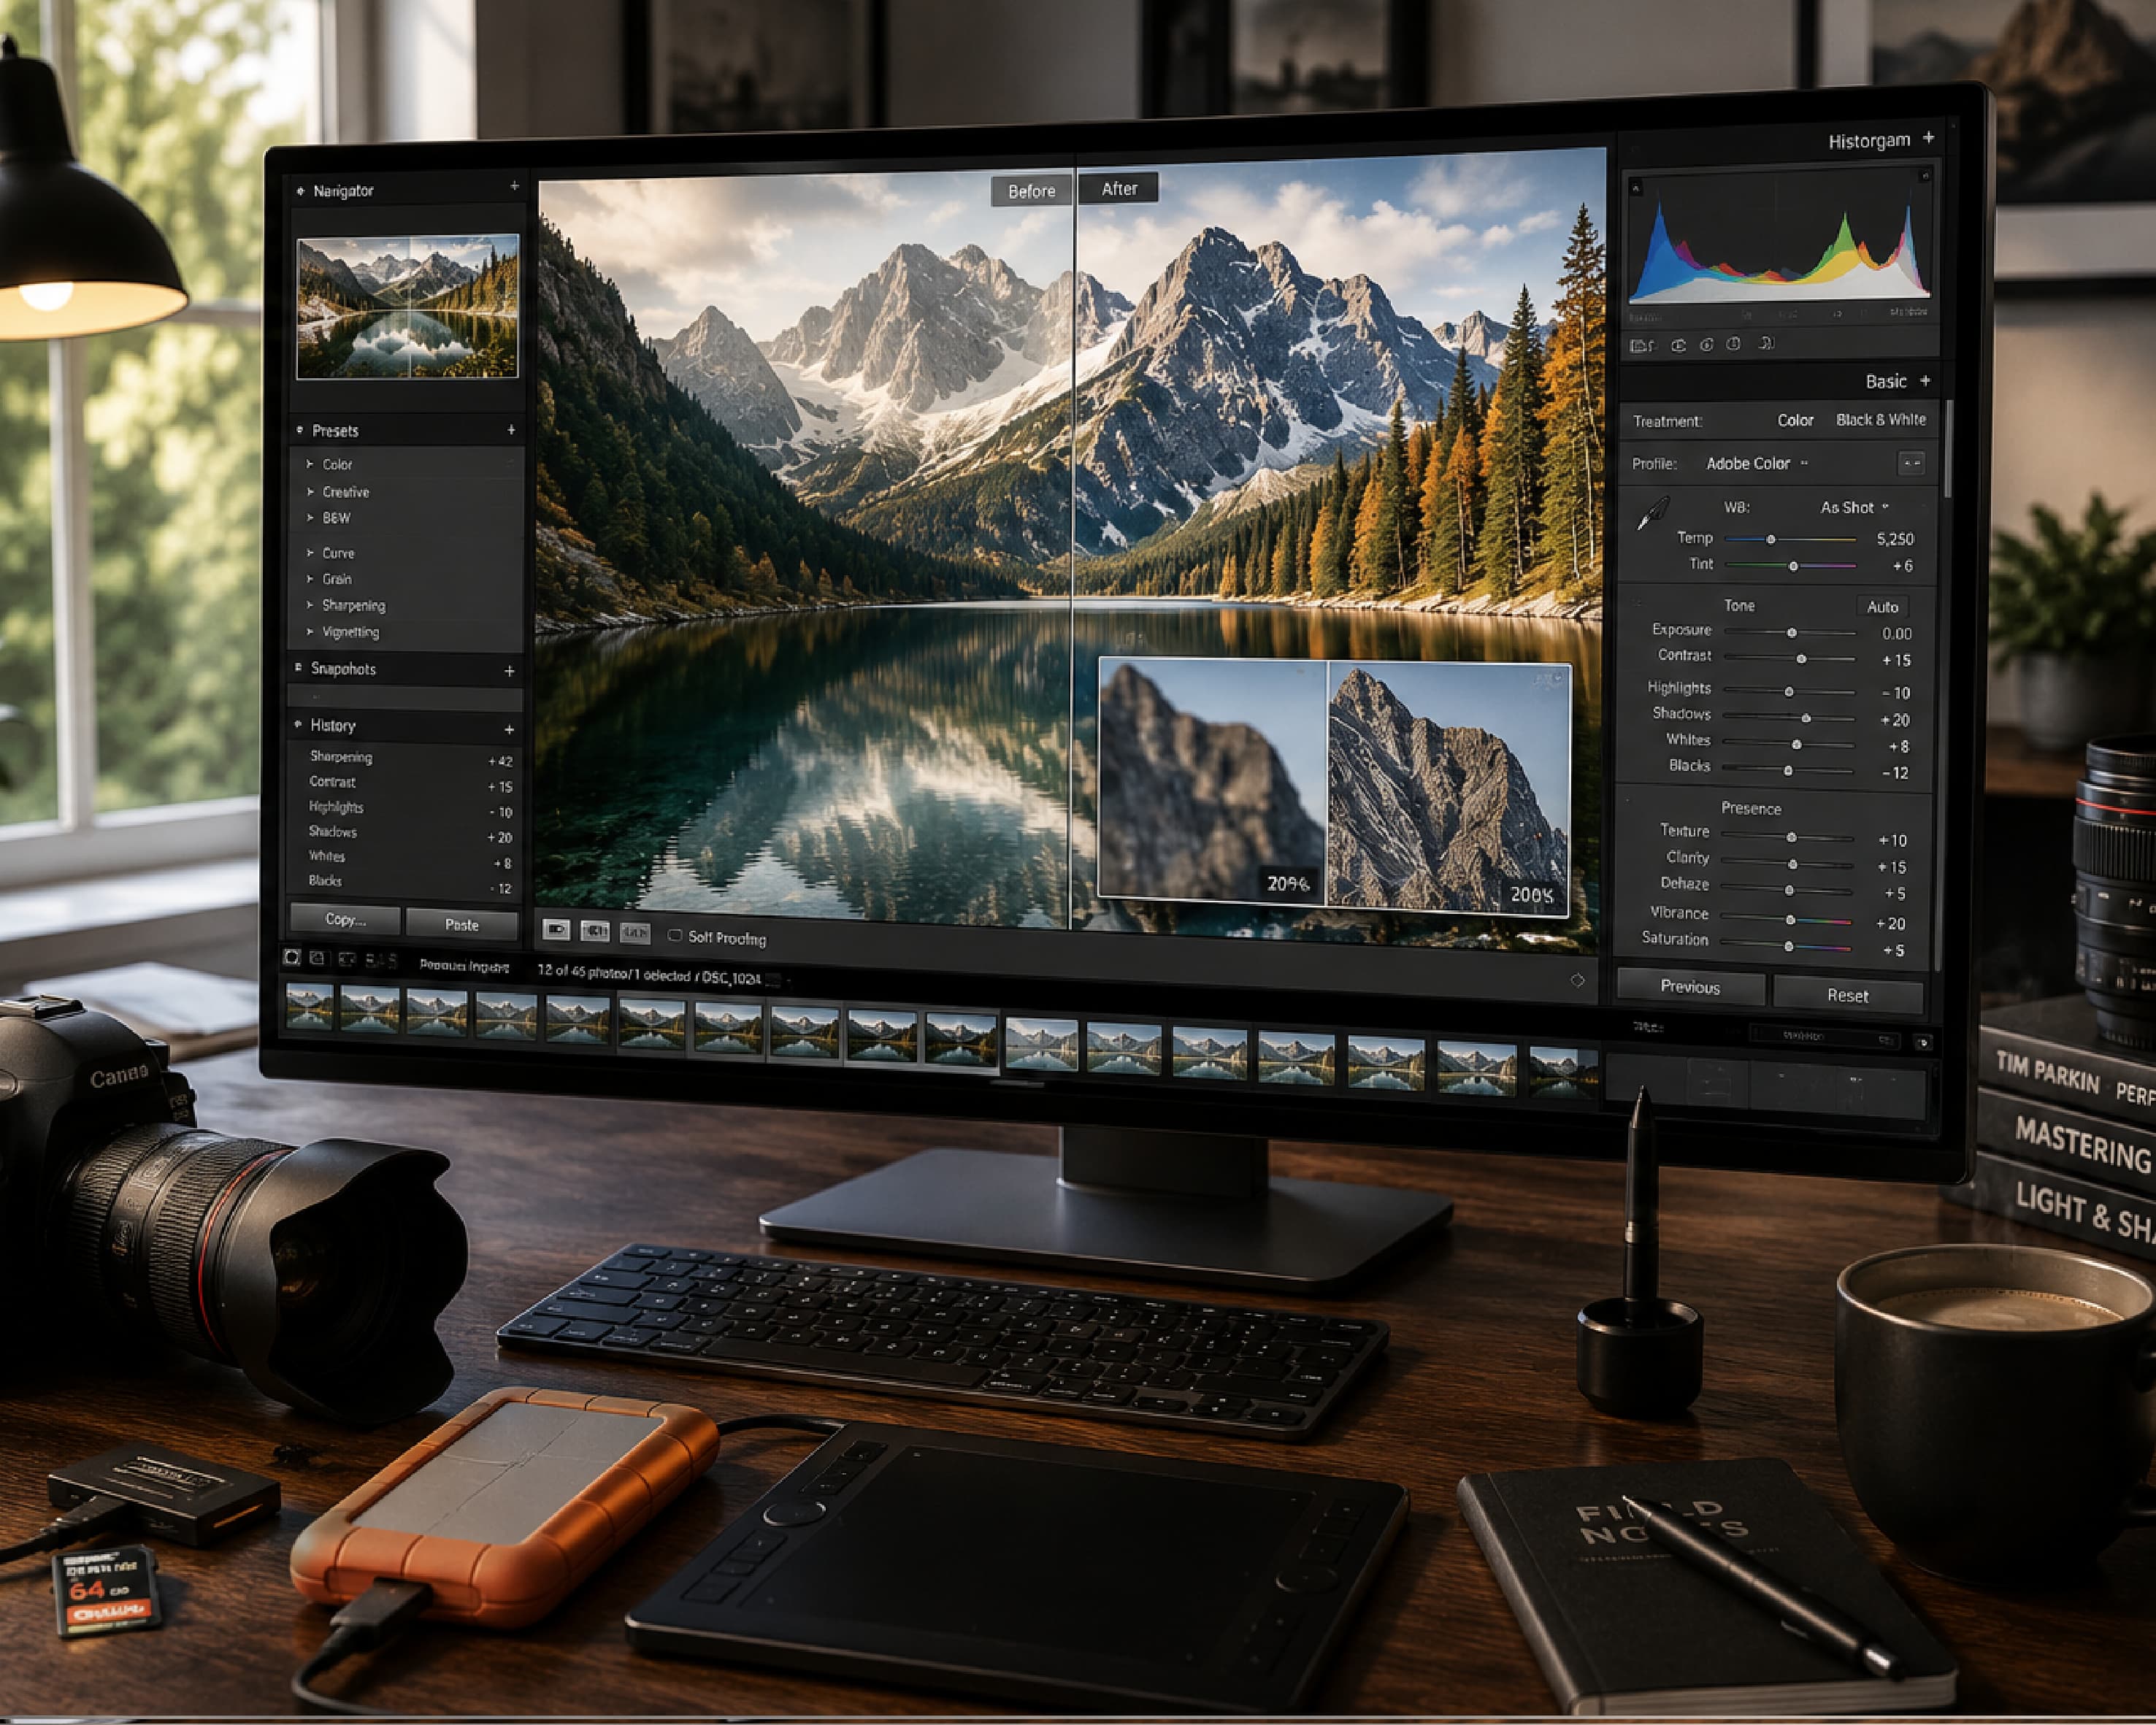
How to Upscale an Image Without Losing Quality (Free AI Image Upscaler)
There is no faster technique for increasing the size of an image without rendering it in a low-quality and blurred state except using an artificial intelligence-based image upscaler than simply stretching the image in a photo or design program. The regular method of increasing the size of an image only repeats the existing pixels in the new image, which makes the image appear fuzzy because of the stretching process. However, image upscaling by AI does not use such a technique; it uses a pre-trained machine learning model that adds details to the image to create a higher-resolution one. This guide discusses how AI upscaling works in detail, the true differences between upscaling, enhancement, and resizing (the three terms that are used almost interchangeably despite having slight differences in their meanings), which scaling factor to choose based on what you want to create, and the conditions when the results can greatly differ - for example, old photographs, product photography, text-heavy images, blurry images.
Upscaling vs. Enhancement vs. Resizing: What is the True Difference?
These three terms are usually confused and used interchangeably in our searches; however, each term denotes a completely different process, and understanding this difference can help us form an accurate expectation from the tool we use.
Resizing (the traditional kind, without AI) changes an image's pixel dimensions by mathematically interpolating between existing pixels - essentially guessing what the color values "in between" should be based on the pixels already there. It is fast and has been around for decades, but it has a very hard limit in terms of resolution improvement because it is impossible to add information which wasn’t present in the initial picture, so upscaling a picture in this way only results in a larger blur and pixelation.
Upscaling with AI is an entirely different approach; while simple upscaling extrapolates data between pixels, AI upscales the picture by interpreting the contents of the picture (edges, texture, objects) and adding new information based on what the model learned during training on a dataset of actual pictures.
The format of the source image will play a much greater role in upscaling than one would expect. First of all, a heavily compressed JPEG image contains artifacts right in its pixel array in the form of tiny blocks and color bands created due to lossy compression. The upscaling algorithm will not be aware of these artifacts being artifacts and may actually interpret them as legitimate parts of an image and preserve them after upscaling or amplify them. An image in the form of a PNG file or a JPEG file that has been little compressed will provide cleaner input data for the algorithm, resulting in a more realistic upscale. If there is an option of choosing between compressed and less compressed or original photos, then the effort put into using the cleaner version is justified, regardless of the size difference between the files.
For most people searching for either term, the practical goal is the same: take a small, soft, or low-quality image and make it usable at a larger size or in a more polished form - which is exactly what a combined AI upscaler handles, regardless of which specific word you searched.
How AI Upscaling Actually Works
Without getting into implementation specifics that vary by tool, the general approach is a neural network trained on an enormous number of image pairs - a high-resolution original and a deliberately degraded, lower-resolution version of the same image. Through this training process, the model learns the relationship between what low-resolution detail typically looks like and what the corresponding high-resolution detail should look like for a huge variety of textures, edges, and shapes: skin, fabric, foliage, text, hair, and so on.
When you upscale a new image, the model isn't retrieving a stored "correct" version of your specific photo - it's applying everything it learned from that training process to generate detail that's statistically plausible for the patterns it sees in your image. That is why AI-based upscaling works better for commonly occurring objects (faces, ordinary objects, common photographic compositions), and sometimes struggles with uncommon patterns or texts or any kind of information which is very dissimilar to what the model has been mostly trained on. The process is an extremely educated guess since the information was not actually lost at all!
Step-by-Step: Upscale an Image Online
Upload the Image for Upscaling With Plainscan’s Image Upscaler:
- Upload your image on the website; your image will be either in the format of JPG, PNG, or WebP.
- You need to choose your scaling factor that will either be 2x, 4x, or 4K.
- Wait for the processing to complete. While it will take some time because of actual reconstruction performed by the model (and not just interpolation), it is unlikely that it will take long enough for you to get bored (unless it is several images at once).
- Compare the upscaled version to the original one at maximum zoom, focusing on eyes, text, and other intricate details, as this is where the difference would be most visible.
- Download the upscaled image.
That covers the core workflow. The sections below go into choosing the right scale factor and the specific situations worth knowing about before you rely on this for something important.
Choosing the Right Scale Factor: 2x, 4x, or a Specific Resolution
"Scale Factor" is the biggest determining factor that influences the time needed for the process and how realistic the final image will be, and it would be wise to select it consciously rather than picking the biggest one possible.
2x Upscaling means doubling both dimensions, which is the most cautious method and usually gives the most natural and clean result because the algorithm doesn’t have to create much new detail that doesn't exist yet. It is sufficient to increase the size of an image.
4x upscaling (quadrupling both dimensions) pushes further and is where the difference between AI upscaling and traditional resizing becomes most obvious - a 4x traditional resize looks unmistakably blurry, while a good 4x AI upscale can still look convincingly sharp, though it's working harder to invent detail and is more likely to show minor artifacts on close inspection than a 2x upscale of the same source.
Upscaling to a specific target, like 4K, is really just scale factor expressed as a destination resolution rather than a multiplier - useful when you know exactly what output size a specific use case requires (a particular print dimension, a specific display resolution) rather than thinking in terms of "how many times bigger."
The basic idea: employ the smallest scaling factor which actually fulfills the purpose. The attempt at using the highest possible scaling factor for a small and poor quality image pushes the model into generating more detail than a smaller scaled image would require. And that is where the problem lies!
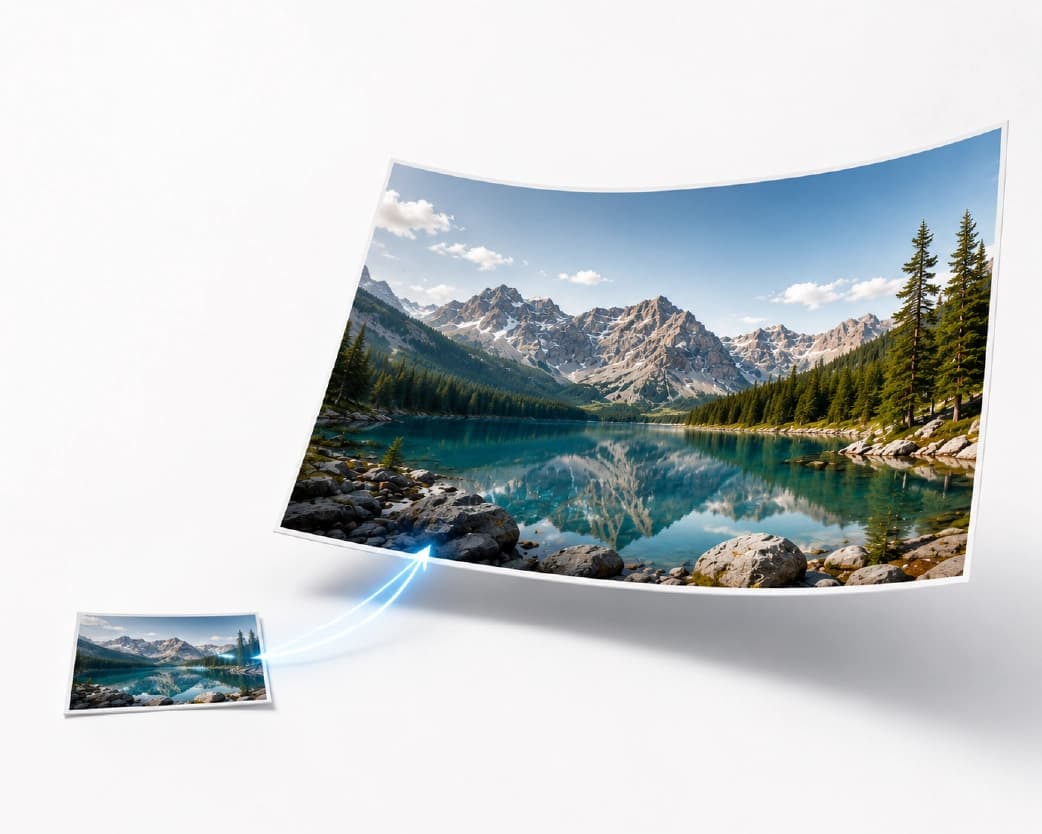
Upscaling for Specific Use Cases
Printing
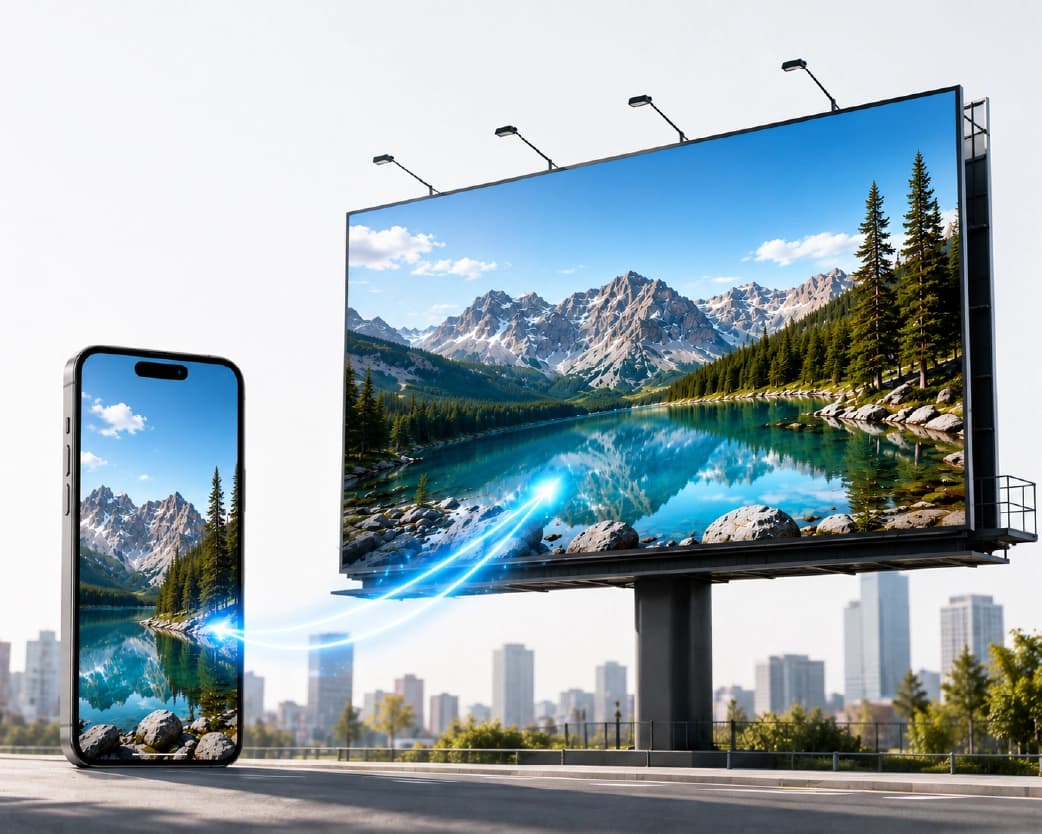
Print requires meaningfully more resolution than screen display - a general rule of thumb is around 300 DPI (dots per inch) at the final printed size for sharp results, which is a considerably higher pixel density than most images need for on-screen viewing. A photo that looks perfectly sharp on a phone screen can be well below that threshold once you calculate what it needs at, say, 8x10 inches on paper. AI upscaling is genuinely useful here specifically because it can take a source image that's technically under the ideal print resolution and generate the additional pixel density needed, producing a print that looks sharp rather than visibly soft or pixelated at the final size.
Old and Low-Resolution Photo Restoration
Old digital photos - particularly ones from early digital cameras or phones, which often shot at resolutions that look tiny by today's standards - are one of the most common genuine use cases for upscaling. The result depends heavily on the original photo's quality beyond just its resolution: a small but genuinely sharp, well-focused old photo upscales more convincingly than a small photo that was also blurry or poorly focused to begin with, since upscaling can't recover focus that was never there - it can only work with the detail that does exist, however limited.
Product and E-Commerce Photos
A product photo that looks fine at a small thumbnail size can fall apart when a shopper zooms in, which matters directly for conversion on most e-commerce platforms where buyers expect to inspect detail before purchasing. Upscaling a product photo that's technically a bit small for its intended display size is a common practical fix - though it's worth noting this works best as a modest correction rather than a substitute for photographing the product at adequate resolution in the first place, since upscaling is reconstructing plausible detail, not recovering texture and information that a higher-resolution original photograph would have actually captured.
Profile Pictures and Social Media
A small, low-resolution profile picture - common when someone's only source photo is an old, heavily-compressed image pulled from a years-old social post or a screenshot - can be upscaled to look reasonably sharp in the larger display sizes many platforms now use for profile images. This is generally one of the more forgiving use cases, since profile photos are usually faces (a subject AI upscaling models handle well, given how much training data exists for faces specifically) displayed at a moderate size rather than examined at extreme close-up.
Logos and Small Graphics
Upscaling a small logo or icon file works differently than upscaling a photograph, and results vary more. Photographic upscaling models are generally trained heavily on real-world photo content; a small, simple graphic with flat colors and hard edges is a different kind of visual pattern, and results can be inconsistent - sometimes clean, sometimes introducing soft or slightly warped edges around what should be crisp geometric lines. If a logo exists as a vector file (SVG, AI, EPS) rather than only as a small raster image, using that vector original to generate a larger size directly is more reliable than upscaling a small raster version, since vector formats scale to any size with zero quality loss by definition - upscaling should really be a fallback for when only a small raster version exists, not the first choice when a vector source is available.
Upscaling on Mobile
The process works identically in a mobile browser as on desktop - upload the image from your camera roll, choose a scale factor, and download the result. This is particularly relevant for old photo restoration specifically, since a common workflow is photographing or scanning an old printed photo with a phone and then wanting to both digitize and upscale it in the same session, without needing to move the file to a computer first.
How File Format Affects Upscaling Results
The format of the source image will play a much greater role in upscaling than one would expect. First of all, a heavily compressed JPEG image contains artifacts right in its pixel array in the form of tiny blocks and color bands created due to lossy compression. The upscaling algorithm will not be aware of these artifacts being artifacts and may actually interpret them as legitimate parts of an image and preserve them after upscaling or amplify them. An image in the form of a PNG file or a JPEG file that has been little compressed will provide cleaner input data for the algorithm, resulting in a more realistic upscale. If there is an option of choosing between compressed and less compressed or original photos, then the effort put into using the cleaner version is justified, regardless of the size difference between the files.
What Happens to File Size After Upscaling
Upscaling substantially increases file size, often quite dramatically - a 4x upscale roughly quadruples both width and height, meaning the total pixel count (and therefore the raw amount of image data) increases by a factor of 16, not 4. This is worth planning for if the upscaled image needs to go somewhere with a size limit - an email attachment, a website upload, a form submission - since a small original file can turn into a genuinely large one after a significant upscale. Compressing the upscaled result afterward, per the compression guidance covered elsewhere on this site, can bring the file size back down to something more manageable without meaningfully undoing the sharpness gained from the upscale itself, since compression and upscaling are addressing different things (file size vs. resolution) rather than directly working against each other.
Testing Different Scale Factors Before Committing
For an image where the outcome genuinely matters - a photo going into a printed product, a hero image for a website - it's worth running the same source through a couple of different scale factors and comparing the results side by side rather than assuming the largest available option is automatically best. A 2x and a 4x upscale of the same source can look meaningfully different in terms of natural texture versus slight over-smoothing, and the "right" choice depends on the specific image and how closely the final result will be examined - a background image glanced at briefly tolerates more aggressive upscaling than a hero photo a viewer will study closely.
Is This the Same as Video Upscaling?
No - video upscaling is a related but distinct and more demanding task, since it requires the model to maintain consistency across many sequential frames rather than reconstructing a single static image. A tool built for photo upscaling generally isn't built to handle video, and vice versa; if you're looking to upscale video footage specifically rather than still images, that calls for a dedicated video upscaling tool rather than an image-focused one. This guide, and the tool it covers, is scoped to still images - photos, graphics, and scanned pictures - not video.
Common Issues and Their Solutions
- The result is an “AI-looking” image. This is one of the most frequently encountered complaints regarding aggressive upscaling, wherein certain features of the skin, fabric, or any other type of texture look slightly artificial or excessively smoothed compared to a true high-resolution image. This tends to happen more at higher scale factors and on originals that were quite small or low-quality to begin with; using a more conservative scale factor, per the guidance above, generally produces a more natural result.
- Text in the upscaled image looks distorted or slightly wrong. Fine text is one of the harder cases for photo-oriented upscaling models, since text isn't really "photographic" content in the way faces, landscapes, and everyday objects are - the model can occasionally reconstruct a character in a way that's visually plausible but not quite accurate to what the original text actually said. For anything where the exact text needs to remain readable and accurate (a document, a sign with important information), it's worth double-checking upscaled text carefully rather than assuming it came through correctly, and for genuinely document-heavy content, a dedicated document-focused tool rather than a general photo upscaler tends to handle text more reliably.
- Colors shifted slightly after upscaling. This is less common than the artifacts described above, but can occur, particularly with very small or heavily compressed source images where the model has limited genuine color information to work from. If exact color accuracy matters - brand colors, product photography for a catalog - comparing the upscaled result against the original color values before finalizing is worth the extra minute.
- The file took noticeably longer to process than expected. Larger scale factors and larger source images both increase processing time, since the model is doing more reconstruction work - this is expected and scales with the actual computational task, not a sign anything went wrong.
AI Upscaling vs. Traditional Resizing: A Direct Comparison
| Traditional resize | AI upscaling | |
|---|---|---|
| Method | Interpolates between existing pixels | Reconstructs plausible new detail using a trained model |
| Speed | Near-instant | Slower, since real computation is involved |
| Result at large scale factors | Visibly blurry, blocky | Can remain sharp-looking, though not "true" detail |
| Best for | Small size adjustments, non-photo content | Meaningful size increases where sharpness matters |
| Can recover lost focus | No | No - separate limitation, not solved by either method |
Batch Upscaling Multiple Images
If you need to upscale several pictures at once, then even the number of these images can make the process rather slow because the upscaling procedure is more time-consuming compared to resizing or compression of the picture. Before starting the process of upscaling several pictures, it might be useful to see whether your tool is capable of handling batches, which means upscaling several images in one sitting. For bigger batches of images, you might want to upscale several samples beforehand and check whether your parameters of the scale and the quality work well on a variety of subjects, including faces, objects, and text-intensive pictures (if there are any).
Is It Safe to Upscale Images Online?
The same general privacy considerations apply here as with any tool that requires uploading a file - for a casual photo, there's little at stake; for anything containing identifiable people, private property, or sensitive context, it's worth checking the tool's stated file retention policy before uploading. Plainscan deletes uploaded files within 24 hours of processing, over an encrypted connection, without requiring the file to be retained any longer than needed to complete the upscale.
How This Compares to Other Upscaling Options
Topaz Gigapixel AI is a well-regarded desktop application specifically built around high-end upscaling, popular with photographers who need maximum control and are willing to pay for a one-time software license - a heavier commitment than most casual upscaling needs justify. Remini leans specifically into face and portrait enhancement, particularly popular for restoring old personal photos, with a strong focus on that specific use case over general-purpose upscaling. Upscayl is a free, open-source desktop option that processes images locally rather than uploading them anywhere, appealing specifically to anyone who wants zero server exposure for sensitive images, at the cost of needing to install software and having performance depend on your own device's hardware. Browser-based tools like Plainscan sit in the middle of this landscape - no installation, reasonable quality for everyday use, and a privacy model based on short-term server processing with automatic deletion rather than either fully local processing or indefinite retention.
Free vs. Paid: What to Expect
Image upscaling is genuinely more computationally demanding than tasks like compression or format conversion, since the tool is running an actual reconstruction model rather than a comparatively lightweight encoding process - it's common across this category of tool for free tiers to cap either the number of upscales per day, the maximum scale factor available for free, or both, with a paid tier unlocking higher scale factors or unlimited daily use. Check the specific tool's current free-tier limits directly, since these details tend to be more tightly tied to server cost for this particular type of tool than for lighter-weight tasks, and are more likely to change over time.
Best Practices for Better Upscaling Results
- Start from the best available original, even if it's still small. A small but genuinely sharp, well-focused, well-lit source image upscales more convincingly than a small image that's also blurry or poorly exposed - upscaling amplifies what's already there, for better or worse.
- Choose the smallest scale factor that achieves your actual goal. As covered above, more aggressive upscaling asks the model to invent more new detail, which increases the odds of an artificial-looking result - don't default to the maximum multiplier out of habit.
- Understand what upscaling can't fix. Genuine focus blur, motion blur, and severely damaged or degraded originals are different problems than low resolution, and upscaling addresses resolution specifically, not every possible quality issue.
- Use a vector source for logos and simple graphics when one exists, rather than upscaling a small raster version - vector formats scale losslessly by design, which no amount of AI reconstruction on a raster file can fully replicate.
- Double-check fine text and exact colors after upscaling if accuracy matters for your specific use case, since these are the areas most likely to show subtle reconstruction errors that a quick glance might miss.
More Real-World Use Cases
Genealogy and family history research frequently involves working with old, low-resolution scans of photographs - sometimes photos of photos, passed down through multiple generations of copying - where upscaling can make faces and details legible again in a way that's genuinely useful for identifying people or preserving a usable copy for a family archive.
Real estate listings sometimes only have access to smaller source images (from an older listing, a seller-provided photo, or a screenshot from another platform) that need to hold up at the larger display sizes modern listing platforms use - upscaling bridges that gap without needing to re-shoot the property.
Digital artists and content creators working with AI-generated images, which are sometimes produced at a fixed, moderate resolution, use upscaling to prepare a piece for a larger format - a print, a large digital display, a poster - without needing to regenerate the image at a higher native resolution if the generation tool doesn't support that directly.
Archival and historical image restoration - scanned newspapers, historical photographs, old documents with embedded images - benefits from upscaling as part of a broader digitization effort, making archived visual material more usable for research or public display than the original low-resolution scan would be on its own.
Why Some Images Are Harder to Upscale Than Others
Because AI upscaling relies on patterns learned from training data, results are inherently uneven across different kinds of source content - and understanding why helps set realistic expectations rather than assuming any inconsistent result is a tool malfunction. A model trained predominantly on typical photographic subjects - people, everyday scenes, common objects, standard lighting conditions - will generally perform best on exactly that kind of content, since it's seen enormous amounts of similar material during training. Content that's less common in typical training data - unusual art styles, uncommon lighting or color palettes, close-up textures of unfamiliar materials, unusual camera angles, unusual document layouts - is more likely to produce a result that looks slightly "off" in ways that are hard to predict in advance, precisely because the model has less relevant pattern-matching experience to draw on for that specific kind of content.
This isn't a flaw specific to any one upscaling tool - it's a general characteristic of how this category of AI model works, and it applies across every upscaler built this way, not just one particular product. The practical takeaway: for genuinely important images with unusual content, running a quick test upscale and reviewing it critically before committing to using the result somewhere final (a print, a publication, a client deliverable) is worth the extra few minutes, rather than assuming the tool will handle every kind of source image equally well.
Comparing Multiple Tools on the Same Image
Because different upscaling tools are built on different underlying models, trained on different datasets with different strengths, the same source image can produce noticeably different results across tools - one might handle skin texture more naturally, another might be more reliable on text, a third might introduce fewer artifacts on a specific kind of background pattern. For a one-off casual image, this level of comparison shopping is rarely worth the effort. But in instances when you are doing work which is important, say, an image which is to be published in print form, or an image which will go up on a web page, or maybe a restoration of an image that is precious to a particular family, running your source on two or three software programs at one time is no extravagance, because what would be the "best" software program for an image cannot be the same for all images.
Frequently Asked Questions
Is it really free to upscale an image online?
Generally yes for everyday, occasional use, though free tiers for AI upscaling specifically are more likely than lighter tools to cap daily usage or maximum scale factor, given how computationally demanding genuine AI reconstruction is compared to simpler image tasks. Check the specific tool's current limits.
What's the difference between an image upscaler and a photo enhancer?
Though they are quite similar, upscaling is specific in that it only applies to an increase in resolution or pixels, whereas "enhancement" is used for various other processes including sharpening and color correction without necessarily resizing the image at all.
Can AI upscaling fix a blurry photo?
It depends on why the photo is blurry. If the issue is low resolution, upscaling genuinely helps by reconstructing plausible additional detail. If the issue is that the photo was out of focus or affected by motion blur when it was taken, upscaling generally can't recover that lost sharpness - it's a different underlying problem.
How much can I upscale an image without it looking fake?
This varies by source quality, but as a general pattern, more conservative scale factors (2x) tend to look more natural than aggressive ones (4x and beyond), especially starting from a small or low-quality original. There's no universal safe number - it's worth comparing the result at full zoom before deciding a given scale factor works for your specific image.
Is AI upscaling the same as just resizing an image bigger?
No - traditional resizing interpolates between existing pixels and has a hard ceiling on quality at larger sizes, producing visible blur. AI upscaling uses a trained model to generate new, plausible detail, which is why it can produce a sharper-looking result at the same target size.
Can I upscale an image for printing?
Yes, and this is one of the more common genuine use cases - print typically requires higher resolution (around 300 DPI at final size) than screen display, and upscaling can bridge the gap between a source image's native resolution and what a specific print size actually needs.
Why does text look slightly wrong after I upscaled an image containing it?
Text is a harder case for photo-oriented upscaling models than typical photographic content, since it's a different kind of visual pattern than faces, objects, or landscapes. For content where exact text accuracy matters, double-check it carefully after upscaling rather than assuming it's correct.
Should I upscale a logo, or find a better source file?
If a vector version of the logo exists (SVG, AI, EPS), use that to generate a larger size directly rather than upscaling a small raster image - vector formats scale to any size with zero quality loss, which is more reliable than AI reconstruction on a raster file.
Can I upscale multiple images at once?
Many tools support batch upload for this, which is worth using for anything beyond a handful of images, since upscaling takes meaningfully longer per image than lighter tasks like compression.
Is it safe to upload personal photos to an online upscaler?
For casual images, there's little at stake; for anything containing identifiable people or sensitive context, check the tool's file retention policy first. Plainscan deletes uploaded files within 24 hours of processing.
Does upscaling fix low-quality or compressed JPEG artifacts?
Not reliably, and it can sometimes make them more visible rather than less, since the model may treat existing compression artifacts as genuine detail to preserve or amplify. Starting from the least-compressed version of a source image available produces a cleaner upscale.
Why did my upscaled file end up so much larger than expected?
Upscaling increases both width and height by the chosen scale factor, so the total pixel count grows by roughly the square of that factor - a 4x upscale means a 16x increase in pixel count, which is why the resulting file size jump is often bigger than expected.
Can I upscale an image that's already been upscaled once?
Technically yes, but running an image through upscaling multiple times tends to compound any artifacts introduced in the first pass rather than improving the result further - it's generally better to upscale once from the best available original.
Do different upscaling tools give different results on the same image?
Yes, often noticeably - different tools are built on different underlying models with different strengths and weaknesses. For a casual image this rarely matters, but for something genuinely important, comparing results from a couple of different tools on the same source is a reasonable extra step.
Will an upscaled image always look worse than a genuinely high-resolution original?
In most cases, yes - upscaling is reconstructing plausible detail rather than recovering information that was never captured, so it's generally a strong fallback rather than a true substitute for having captured the image at higher resolution in the first place. It closes the gap significantly, but a genuinely high-resolution original will still typically look more accurate on close inspection.
Conclusion
Upscaling, enhancing, and resizing solve related but genuinely different problems, and knowing which one you actually need - a real resolution increase with reconstructed detail, a broader quality fix, or just a quick dimension change - determines whether the result looks convincingly sharp or just bigger and blurrier. AI upscaling earns its place specifically when you need a small or low-resolution image to hold up at a larger size, whether that's for printing, a product listing, or simply making an old photo usable again - with the realistic caveat that it's reconstructing plausible detail, not recovering information that was never captured in the first place. Plainscan's image upscaler handles this directly in the browser, with files automatically deleted within 24 hours and no software installation required.
Related insights
Get the Plainscan App for iOS & Android