How to Compress an Image Without Losing Quality (2026 Guide)
You're two minutes from finishing an exam application, job portal upload, or visa form, and it rejects your photo: "file size must be under 100KB." Your photo is 2.4MB. Nothing in the form tells you how to actually get there - just that you need to, right now, without turning your photo into a blurry mess the reviewing officer might reject for a completely different reason. This is one of the most common, most specific frustrations around image compression, and most general "how to compress a photo" guides don't actually address it - they explain lossy vs. lossless compression in the abstract and leave you to figure out the exact-size part yourself. This guide covers both: the general principles of compressing without visible quality loss, and the precise, practical process of hitting an exact KB target, which is what most people searching for this are actually trying to do, whether that's for an exam application, a passport renewal, a job portal, or simply keeping a website fast.
How Image Compression Actually Works
Each photograph is made up of a combination of these three elements: resolution, which is defined by the number of pixels in the image; color depth, which refers to the amount of color data contained in each individual pixel; and compression, which is how the data can be compressed into one another.
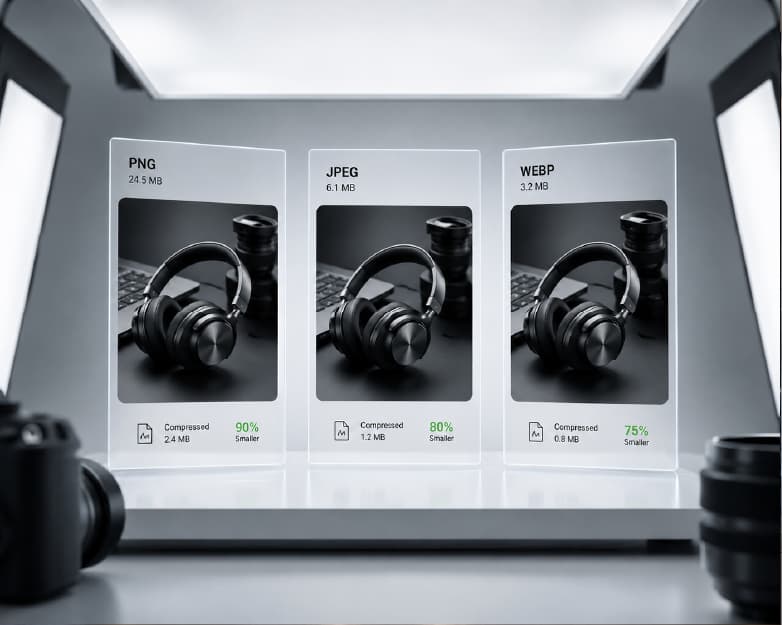
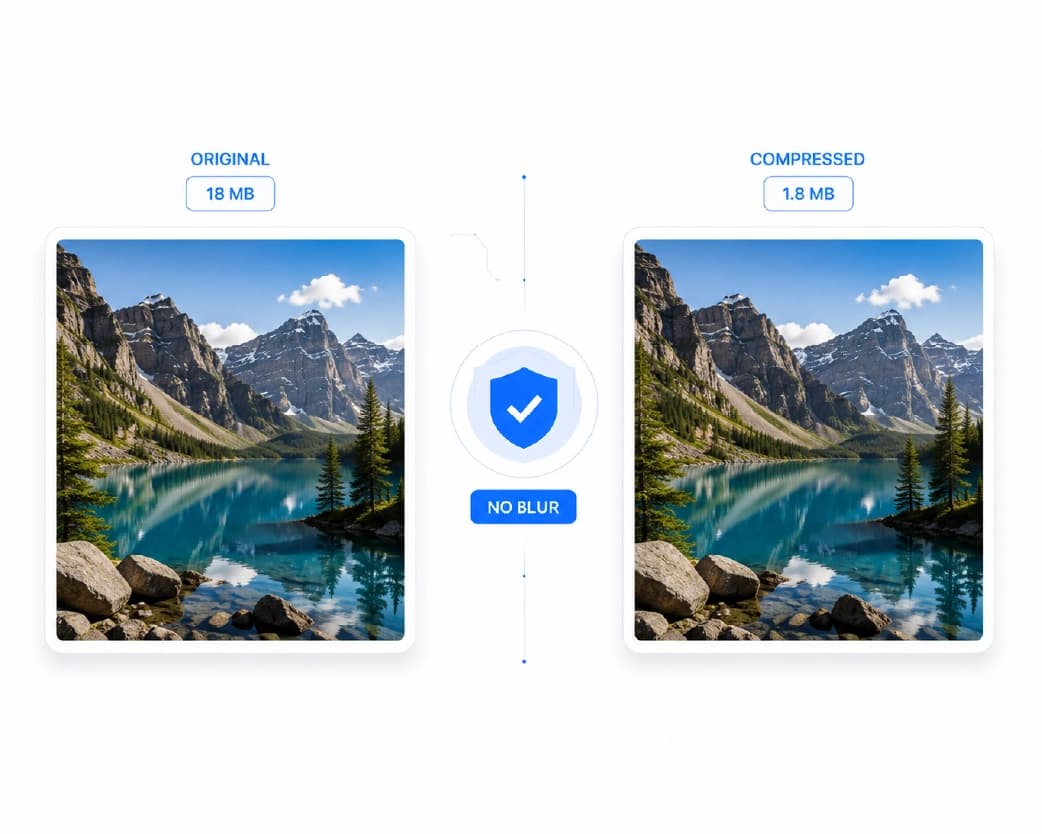
Lossy compression (used by JPEG) selectively discards image data that's least noticeable to the human eye - subtle color gradients, fine detail in busy areas - to shrink the file substantially. Done at a reasonable level, this is genuinely invisible; pushed too far, it produces the blocky, smudged artifacts people associate with \"over-compressed\" photos.
Lossless compression (used by PNG) repacks the existing data more efficiently without discarding anything, which means zero quality loss but also a much smaller size reduction - usually 20-40% versus JPEG's 60-90%. This is why PNG files stay large for photos but are usually smaller than JPEG for simple graphics, logos, and screenshots with large flat areas of solid color, where there's simply less unique data to begin with.
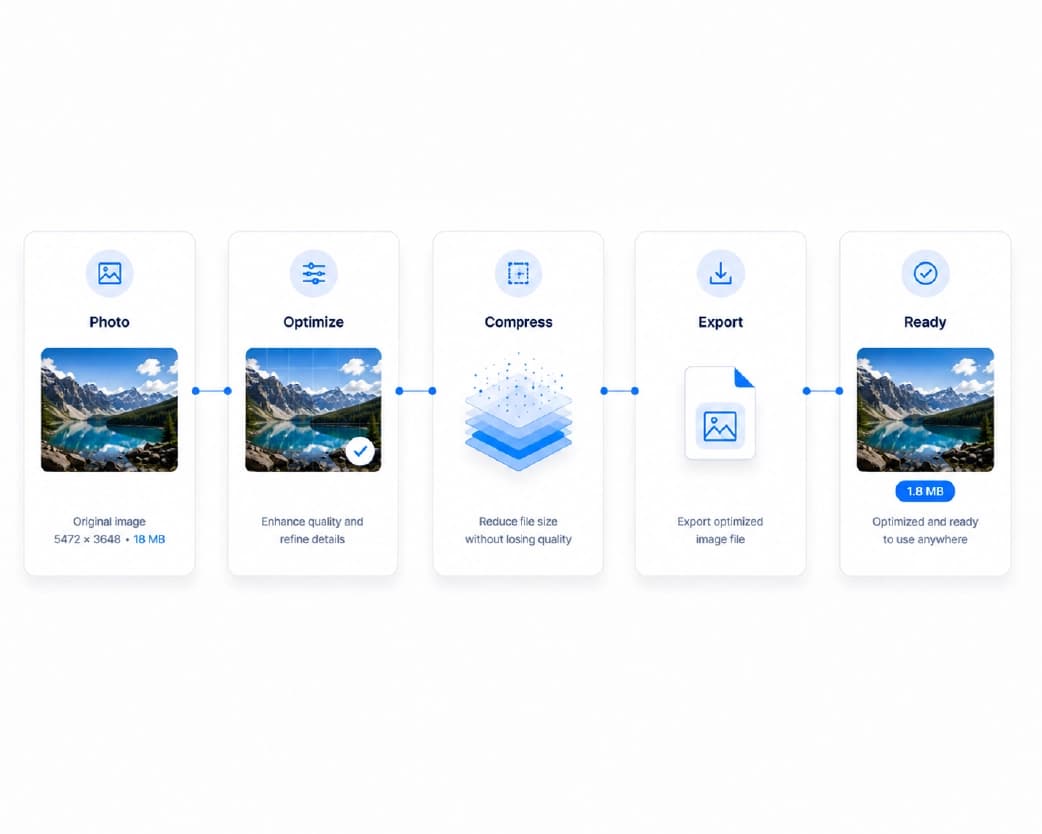
Reducing resolution – that means simply decreasing the number of pixels in the image – has the largest influence on the size of the file, more often than just the compression rate. Contemporary photographs from smartphones have 4000 x 3000 pixels and even more. But when it comes to viewing the photos on websites or sending them by e-mail, all those thousands of pixels will be simply unnecessary.
JPEG vs. PNG vs. WebP: Choosing the Right Format First
Before compressing at all, the format you're compressing matters more than people expect.
JPEG is the right default for photographs - real-world images with lots of color gradients and detail. Its lossy compression is specifically tuned for this kind of content and achieves the smallest file sizes for photos without obvious quality loss at moderate settings.
PNG is the right choice for screenshots, logos, graphics with text, or anything with sharp edges and flat color - compressing a screenshot as JPEG often looks worse and, counterintuitively, sometimes produces a larger file than PNG, because JPEG's compression algorithm isn't built for large solid-color areas or crisp text edges.
WebP, the relatively new format made expressly for the web, tends to beat both in terms of performance - smaller files while offering comparable image quality to JPEGs, along with the lossless options of PNG whenever necessary. However, WebP suffers from limited support on certain legacy systems, printers, and government upload portals, so in cases of uncertainty, JPEG is a safer choice.
If a form or portal doesn't specify a format, JPEG is almost always accepted; PNG is the safer choice specifically for scanned documents, screenshots, or signatures with a transparent background. When genuinely unsure and the portal gives no guidance at all, JPEG remains the lowest-risk default across the widest range of systems.
How to Compress an Image to an Exact KB Size (Step-by-Step)
This is the procedure in regard to the particular case: there's a limit set for the size of a file - 20 KB, 50 KB, 100 KB, 200 KB - and the goal is to meet it exactly, not just reduce the size.
- Find out exactly what is required, i.e., the maximum size and the minimum (the portals of some government organizations or tests have limits for both maximum and minimum sizes of photos; they reject the files that are either too small or too big).
- Start with resolution, not compression quality. Most KB-size requirements (especially anything under 200KB) are asking for a small photo, not a heavily compressed large one. A passport-style photo only needs to be roughly 200×230 to 600×800 pixels depending on the portal's spec - resizing down to the actual required dimensions first does more work toward your KB target than aggressive compression ever will.
- Compress at a moderate JPEG quality level - starting around 70-80% quality is usually enough once the resolution is already appropriately sized. Going much lower than this on an already-small image starts producing visible artifacts for very little additional size reduction.
- Review the output file size and tweak in small increments. If you’re still not within the desired range, decrease the quality of the JPG compression rather than reducing resolution, since you’ll probably be at your minimum resolution already, and any further reduction in this would make it lose clarity.
- Employ an image compressor which displays the projected file size, rather than compressing without a clue and then uploading to see if it works. The Plainscan image compressor displays the estimated file size as you tweak settings for this reason.
Common KB Size Requirements by Use Case
A quick reference, since these requirements vary a lot by context and rarely match each other:
| Use case | Typical size requirement |
|---|---|
| Passport photo (varies by country) | 20-50KB |
| Government exam application photo | 20-100KB |
| Government exam application signature | 10-50KB |
| Job portal / resume photo upload | 50-200KB |
| Visa application photo | 10-300KB depending on country |
| Standard website profile photo | 100-500KB |
| Print-quality photo | 1-5MB+ |
Always check the specific portal's stated requirement rather than assuming - these vary widely even within the same category (different countries' exam boards, for instance, specify very different limits), and getting it wrong means resubmitting the entire form, sometimes with a cooldown period before you're allowed to try again.
How Much Can You Compress a Photo Before Noticeably Reducing its Quality?
It very much depends on how the photo will be used and how big the final image needs to be, but there are certain universal principles:
Screen display (web page, forms, screen display) – one can reduce a photo to 70-85% of the camera size without any noticeable effect, because a monitor has considerably fewer effective pixels than any modern camera, and it is hard to notice medium JPEG compression at regular viewing distance.
Official photographs in small format (passports, IDs, application forms for tests) – such photos are viewed and usually printed in small format as well, which means that heavy resolution reduction is not only acceptable, but required; a 2000x2000 pixel photograph is way too much for a picture displayed at 200x200.
For anything that might be printed at a larger size later - keep a higher-resolution original alongside your compressed submission copy. Once resolution is reduced for a small-file submission, that detail can't be recovered if you later need the same photo printed at a larger size.
Compressing Images for Different Destinations
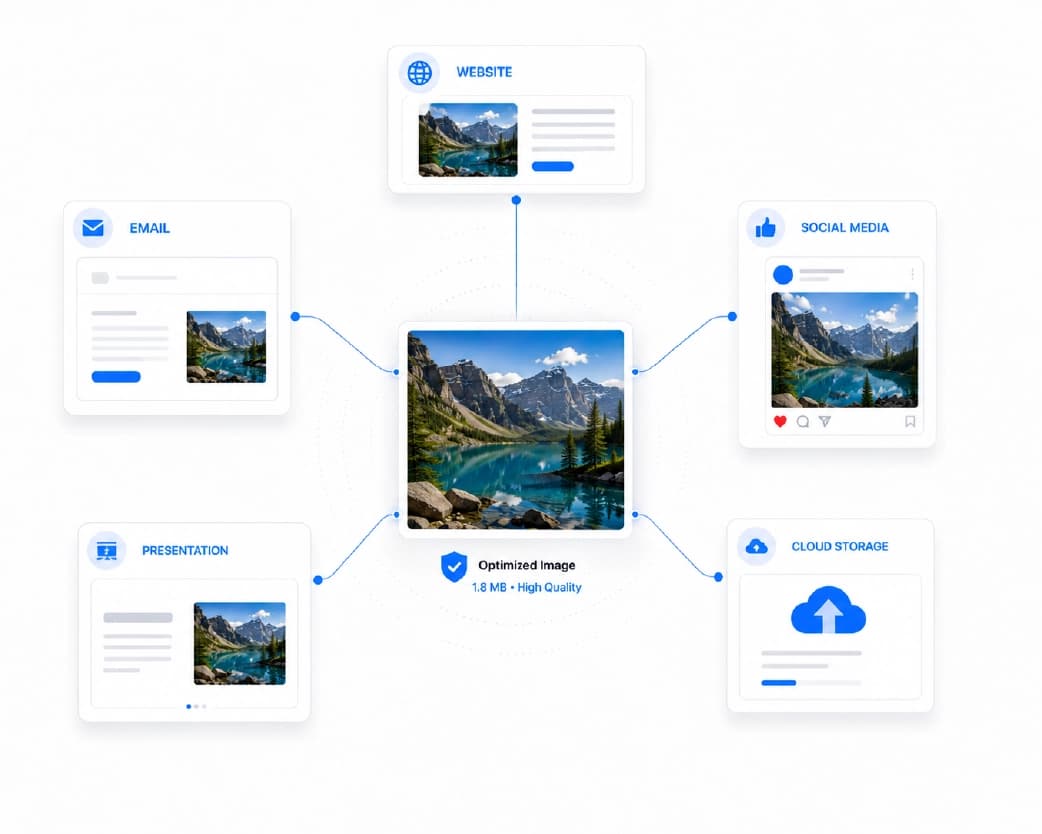
For web use (a website, blog, online store), WebP or well-compressed JPEG at screen resolution (rarely more than 1920px on the longest side) keeps pages loading fast without visible quality cost - oversized images are one of the most common causes of slow-loading websites.
For documents (inserting a photo into a Word file or PDF), match the image resolution to how it'll actually be viewed in the document - a full-page photo needs more resolution than a small inline image, and compressing every embedded image to the same aggressive setting regardless of its size on the page wastes quality where it isn't needed and doesn't save where it matters.
For printing, resolution matters far more than for screen use - printers need considerably more pixel density to avoid visible pixelation, so compress conservatively (or not at all) for anything headed to a physical print.
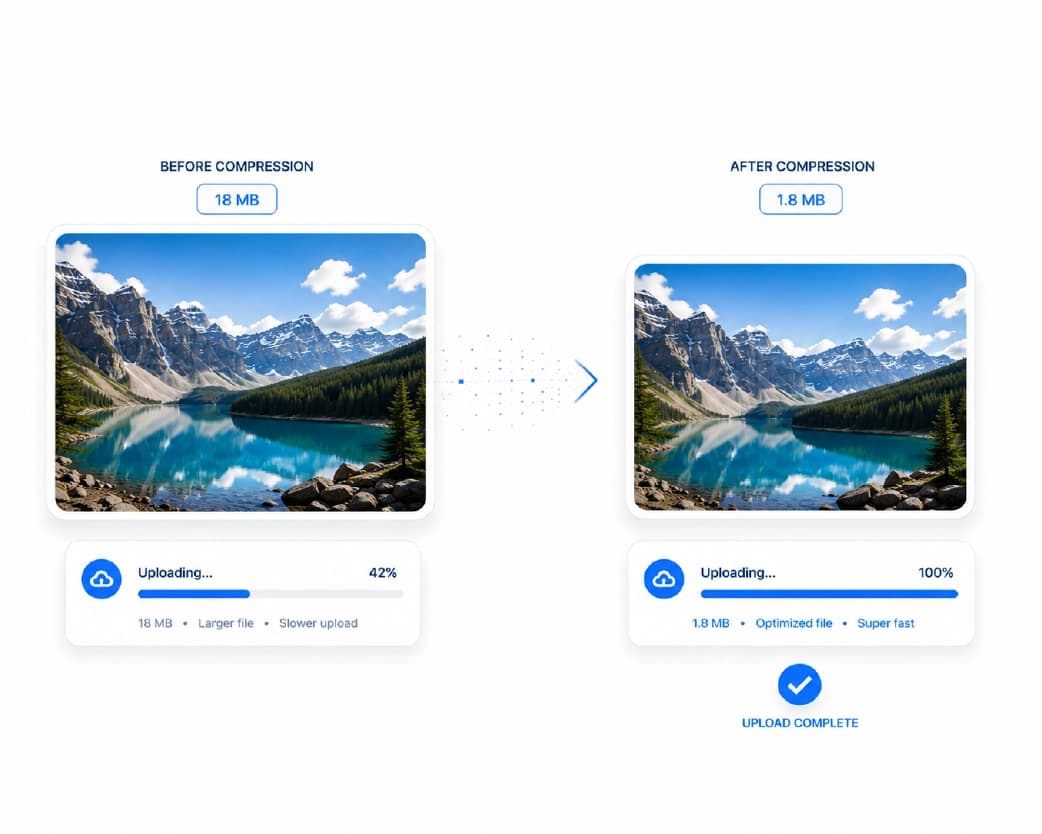
For email attachments, most providers cap attachments around 25MB total, which rarely requires aggressive compression for a single photo - but a batch of many photos in one email often does, and that's where compressing before attaching genuinely saves time versus a failed send.
For anything meant for accessibility - images accompanying text content read by screen readers - file size matters less than ensuring descriptive alt text is preserved through whatever tool handles the compression, since some batch tools strip this metadata by default without warning. Check this specifically if the images are part of a public-facing, accessibility-conscious website rather than a private form submission.
Batch Compressing Multiple Photos at Once
If you're processing more than a few images - event photos, a product catalog, a folder of scanned documents converted to images - doing this one at a time becomes its own bottleneck. A few things make batch compression faster without sacrificing consistency: apply one resolution and quality setting across the whole batch rather than adjusting per image, sort images by intended use first (web thumbnails need far more aggressive settings than print-ready images, and mixing them in one batch means picking a setting that's wrong for at least one group), and spot-check two or three results from the batch before assuming the setting worked correctly across all of them. For very large batches - hundreds of images from an event or a full product catalog - running a small test batch of five to ten representative files first catches a wrong setting before it costs real time re-processing everything.
Common Mistakes When Compressing Images
Compressing an already-compressed JPEG repeatedly. Every time a JPEG is re-saved, it loses a small amount of additional quality, even at a high quality setting - this is cumulative and eventually visible, particularly around sharp edges and text. Compress once, from the original if you still have it, rather than re-compressing an already-compressed copy.
Using PNG for photographs. PNG's lossless compression barely shrinks photographic content, since real-world photos don't have the large flat color areas PNG compression is built for - a photo saved as PNG can end up several times larger than the same photo saved as a well-compressed JPEG, for no visible quality benefit.
Compressing a screenshot or scanned text document as aggressively as a photo. Text and sharp lines show compression artifacts much faster than photographic content does - a compression level that looks fine on a landscape photo can make small text genuinely hard to read. Screenshots and scanned documents generally need a gentler compression setting, or PNG instead of JPEG entirely.
Only adjusting compression quality and ignoring resolution. As covered above, for anything with a strict KB target, resolution usually needs to come down first - relying on compression quality alone to hit a small target often means pushing quality low enough to look noticeably worse than if resolution had been reduced instead.
Compressing Images on Mobile
The same principles apply identically on a phone - open the photo from your camera roll in a mobile browser, upload to a compressor, and download the result. One extra consideration on mobile specifically: modern phone cameras often shoot in HEIC format by default (particularly on iPhone), which many older forms and portals don't accept. If a form rejects your photo without a clear size error, check whether it's actually a format issue first - converting to JPEG before compressing solves this.
Compressing Images Before Converting to PDF
If the image is headed into a document rather than standing alone - a scanned form, a photo ID being submitted alongside a PDF application - compress the image first, then assemble the PDF, rather than the reverse. We've covered the fuller compress-then-convert workflow, including how this interacts with OCR and document assembly, in a dedicated guide on compressing before converting - worth a look if your image is part of a larger document rather than a standalone upload.
Compression Quality Settings Explained
Most compressors present a quality slider or percentage without explaining what it's actually doing, which makes it hard to choose confidently. Here's what each range generally does to a JPEG:
90-100% quality barely compresses at all - this range exists mostly to strip unnecessary metadata and marginally optimize file structure, typically saving only 10-20% of the original size. Appropriate when quality matters more than size, like a photo headed to print.
70-89% quality is the sweet spot for most everyday use - a substantial size reduction (often 50-70% smaller than the uncompressed original) with no visible quality loss at normal viewing sizes. This is the right range for web use, form uploads, and general sharing.
Moderately soft begins to become visible under closer scrutiny in sections where there is fine detail or subtle gradation, such as skin and sky tones, but is still good enough for smaller applications, such as thumbnails or official document pictures.
Below 50% quality produces visible compression artifacts under normal viewing - blocky patterns in gradient areas, blurred fine detail, occasional color banding. This range is really only appropriate when you have no other option for hitting an extremely strict size limit, and even then, reducing resolution first is almost always the better path to the same size target with less visible damage.
Color Depth and Why Some Photos Compress Better Than Others
Two photos of the same pixel dimensions can compress to very different file sizes, and it's not random - it comes down to image complexity. An image with big smooth regions (such as a clear sky, blank wall, or uninteresting background) will compress well because there is little information for the algorithm to record. On the other hand, an image that is filled with lots of information (crowds, foliage, etc.) will not compress well since the amount of information is genuine and must be kept intact.
This explains a common point of confusion: two photos "compressed the same amount" (same quality percentage) can land at very different final file sizes. If you're aiming for an exact KB target across multiple different photos, expect to adjust the quality setting individually for each one rather than assuming one setting works uniformly.
Hidden Data in Your Photos: EXIF Metadata and Privacy
It is important to note that every photograph taken using a cell phone or digital camera contains invisible data, such as the make of the camera used, the exact time and date of when the picture was taken, and most times the GPS location from where the photo was taken.
For most official uploads (exam forms, job applications), this metadata doesn't matter and rarely causes issues. But for anything shared more broadly - a photo posted publicly, sent to someone you don't want to know your exact location - stripping this data first is worth doing deliberately. Most compression tools include an option to remove metadata during compression; if privacy matters for a specific photo, check that this option is actually enabled rather than assuming compression handles it automatically, since some tools preserve metadata by default to keep the file "as close to original as possible."
Compressing Images for Social Media
Different platforms have different optimal dimensions and compress uploaded images automatically on their end regardless of what you send - but pre-compressing still matters for one specific reason: platforms apply their own aggressive compression on top of whatever you upload, and starting from an already-oversized file often produces a worse final result than starting from a well-compressed one, since the platform's algorithm has less room to work with intelligently. As a general guide, most platforms display images comfortably at 1080-2048 pixels on the longest side - uploading a much larger original doesn't improve visible quality once the platform's own compression is applied, it just slows the upload.
Real Scenarios: Getting the Size Right
Student who will be taking a government test that requires no more than 20KB photos. Starting with the 3.2MB photo taken from his/her phone that has dimensions 4000×3000 pixels, downsizing to about 300×400 pixels first and compressing to about 75% JPEG quality gives us plenty of room below the 20KB threshold and results in the photo being sharp on display.
Job seeker uploading his/her headshot to an online portal that allows only 200KB photos. This limit is relatively high compared to the display size of a standard headshot, so downsizing to about 800×1000 pixels and compression to 85-90% quality is comfortably within the threshold and keeps the extra detail compared to the 20KB exam photo.
An event photographer sending 200 photos to a client via email. Batch-compressing the full set at a consistent web-viewing setting (around 1920px on the longest side, 80% quality) before sending keeps total email size manageable without visibly affecting how the photos look on the client's screen - full camera-resolution originals would make the email undeliverable and are unnecessary until the client requests specific images for print.
A small business owner uploading product photos to an online store. Most e-commerce platforms recommend a specific pixel range (often 1000-2000px per side) for product images - compressing to that range at 80-85% quality keeps the store fast-loading without visibly softening product detail that customers rely on to judge quality before buying, while avoiding the platform's own automatic re-compression producing a worse result than a properly sized original would.
DPI, PPI, and Why They Confuse the File Size Question
A common point of confusion: someone increases a photo's "DPI" hoping it'll look better, and file size barely changes, or a form asks for a specific DPI and it's unclear how that relates to the KB limit elsewhere on the same form. DPI (dots per inch, technically PPI - pixels per inch - for digital images) describes pixel density relative to a physical print size, not the total amount of image data. A photo can have a high DPI value and still be a small, low-resolution file if its physical dimensions are set small enough - DPI is a print-time instruction, not a measure of quality or file size on its own.
What actually determines file size is the total pixel count (width × height) combined with compression level - not the DPI metadata tag. If a form specifies both a DPI requirement and a KB limit, treat them as separate instructions: set the DPI value for print-accuracy purposes (most photo tools let you set this independently of the actual pixel dimensions), and hit the KB target through the resize-then-compress process described earlier in this guide.
Comparing Compression Tool Types
Not all compression tools work the same way, and it's worth knowing the tradeoffs before picking one for regular use.
Browser-based online compressors (including Plainscan's) handle one-off and moderate-volume compression well, require no software installation, and work identically on any device with a browser. The tradeoff is upload time for very large files or big batches, since the image has to transfer to a server for processing.
Desktop software (Photoshop, GIMP, and similar) offers the most granular control - adjusting compression, resolution, and color settings independently with a live preview - and processes locally without an upload step, which matters for very large files or sensitive images. The tradeoff is the software itself, which for professional tools often requires a paid license and a real learning curve for anyone who isn't already familiar with image editing.
In-built OS utilities (Photos app on iPhone and Mac, image viewers on Windows OS) will provide the most basic options for resizing and exporting pictures, which can be used for basic resizing but will normally lack the level of precision that a dedicated compressor tool will give in terms of hitting KB target file size.
In terms of this particular use case – where one needs to hit a certain file size for filling in forms or using portals – then a dedicated compressor tool that shows the file size as one is resizing and compressing images is the way to go, since there will no longer be any guessing involved.
When Compression Alone Won't Solve the Problem
Occasionally a strict size limit combined with a strict minimum resolution or dimension requirement creates a genuine conflict - some government portals specify both "must be at least 600×800 pixels" and "must be under 50KB," which can be a tight target depending on the photo's content. In these cases:
- Simplify the photo itself first if possible - a plain, evenly lit background compresses far more efficiently than a busy or textured one, and for ID-style photos, this is usually within your control when the photo is taken.
- Try a slightly different aspect ratio or crop that meets the minimum dimensions without excess - the further above the stated minimum your dimensions are, the harder the KB target becomes to hit cleanly.
- Accept a moderate JPEG artifact level as the tradeoff - for small, official-use photos, a slightly softer image that comfortably meets both requirements is a better outcome than repeatedly failing the size check.
Compressing Signature Images for Forms
Worth its own mention since it's a frequent companion requirement alongside a photo upload, with its own, often stricter, size limit - many exam and government forms ask for a scanned signature separately, often capped at just 10-20KB, tighter than the photo requirement.
Signatures do not compress in the same way that photos do since signatures have a lot of white space and very little detail in dark lines, almost like a graphic and not a photo. This implies that you should: scan or take a picture of your signature on a white background (shadows are unwanted and also using an off-white colored paper would only complicate the process of editing your image), use PNG extension rather than JPEG when the website gives such an option as PNG is better suited for this kind of high contrast photo, and the image shouldn’t be too big – normally, 300x100 pixels are enough to create a good looking signature.
Scanned Documents: Image Compression vs. PDF Compression
However, when the type of material you are trying to compress is really a document rather than a photo, it makes sense to figure out beforehand whether you will need to keep the document as an image or will need to convert it into PDF first. When there is just one page in the document – such as a signature, an identity card, or a certificate – it is best left as an image compressed to the required format according to the requirements of the particular form or portal. In case when the number of pages is greater than one, then it would be better to convert your document into PDF and then compress the entire PDF document, and not to try to compress each page individually into images because most forms and portals are expecting one document rather than many separate image files.
A Quick Checklist Before You Submit
- Confirm the exact requirement - both maximum and minimum size/dimensions if stated, not just a ceiling
- Resize to the actual needed dimensions before adjusting compression quality
- Check the file format matches what's accepted (JPEG and PNG are safest defaults; confirm before using WebP or HEIC)
- Preview the compressed image at its intended display size, not zoomed in, before deciding it looks acceptable
- Strip unnecessary metadata if the photo is going anywhere beyond an official form submission
Understanding File Size Units
One of the small things that might be confusing and should be clarified is the usage of varying terminologies in regards to KB and MB, such as "kb," "KB," or "Kb" in different applications, while actually they are the same units, and there is nothing to differentiate through using big letters. 1,000 KB is roughly equivalent to 1 MB (or 1,024 KB in case of a technically accurate binary system used by some software). In case of any unusually strict or loose limitations applied to one particular form, you should check whether the form is limited in KB, and not in MB, since this mistake is extremely widespread.
Frequently Asked Questions
How do I compress a photo to exactly 50KB?
Resize the image first to the required dimensions (most of the time much lower than your camera resolution – passport-size photos rarely exceed 600 × 800 pixels), then compress it with reasonable JPEG quality, and observe the file size, adjusting the compression quality step-by-step until you get to the desired value. Resolution takes care of the major part, while quality is for the rest.
Why does my photo still look large in KB even after compressing?
Usually because only compression quality was reduced, not resolution - a large-resolution photo compressed at a low quality setting can still be bigger than a properly resized photo at a higher quality setting. Check the pixel dimensions first, not just the compression slider.
What's the difference between compressing an image and resizing it?
Resizing changes the pixel dimensions (making the image physically smaller); compressing reduces how efficiently the existing pixel data is stored, without necessarily changing dimensions. For hitting a strict KB target, both usually need to happen together - resizing has the bigger impact, compression fine-tunes the remainder.
Is it safe to compress a photo for an official exam or government application?
Yes - compression only affects file size and visual quality, not the actual content of the photo, so a moderately compressed photo is functionally identical for identification purposes. The real risk is over-compressing to the point of visible artifacts that could cause a manual reviewer to reject it for looking unclear - moderate compression avoids this.
Should I compress my photo as JPEG or PNG?
JPEG, for almost all photograph and form-upload use cases - it achieves much smaller file sizes for photographic content. Use PNG specifically for screenshots, scanned signatures, or anything with sharp text and flat color areas, where JPEG compression tends to look worse.
Can I compress multiple photos at once instead of one at a time?
Indeed, almost all compression software allows for batch operations – upload a folder with several images at once and compress them using the same settings simultaneously, and this is much quicker than doing it one-by-one if you have to process more than just a few pictures.
Will compressing my photo multiple times keep reducing the size?
It will keep shrinking slightly, but at an increasing cost to quality - each additional compression pass discards more data on top of what previous passes already removed. Compress once, from the original source if possible, rather than repeatedly re-compressing the same file.
My phone saves photos as HEIC - why won't a form accept it?
Many forms and older systems only accept JPEG or PNG, not Apple's HEIC format. Convert to JPEG first, then compress - this is a format compatibility issue separate from file size, and it's easy to mistake for a size error if the form's error message isn't specific.
Why does a portal reject my photo for being both too large and too small in different attempts?
This usually means the portal specifies both a maximum and a minimum file size or dimension, not just a ceiling - a photo that's been compressed too aggressively can fall below a stated minimum just as easily as an uncompressed one exceeds the maximum. Check the full requirement carefully, including any minimum, before repeatedly adjusting only the top limit.
Does compressing an image affect its color accuracy?
With medium levels of compression, color shifts are typically unnoticeable. Extremely heavy compression will cause some banding to appear in areas where there are smooth color blends (for example skies, skin tones), prior to any loss of sharpness, so in cases where color fidelity is critical – such as product photography – be sure to use conservative compression settings.
What's the ideal file format for a scanned signature?
PNG, when the destination accepts it - it handles high-contrast, mostly-flat-color content like a signature more efficiently than JPEG, and avoids the subtle compression artifacts JPEG can introduce around sharp pen strokes. If only JPEG is accepted, keep compression moderate rather than aggressive to preserve stroke clarity.
Can I undo compression if I need the original quality back later?
No - compression is a one-way process; once data has been discarded, it can't be recovered from the compressed file itself. Always keep the original, uncompressed photo somewhere safe before compressing a working copy for submission, especially for photos you might need at full quality later for printing or a different use case.
Why do two photos of the same pixel dimensions compress to different file sizes?
Image complexity, not dimensions, drives most of the difference. A photo with large smooth areas - a plain background, a clear sky - compresses much more efficiently than a busy, highly detailed scene at the same quality setting and pixel count, since there's simply less unique visual information for the compression algorithm to preserve.
Conclusion
Most image compression guides stop at "reduce the quality slider," which works fine when you just need something smaller. But when a form gives you an exact KB ceiling, resolution - not compression quality - is usually the lever that actually gets you there without the photo looking visibly worse. Get the dimensions right first, compress moderately second, and check the actual output size before resubmitting, rather than guessing and re-uploading repeatedly.
Related insights
Get the Plainscan App for iOS & Android